Introduction
PC Building has always been a passion of mine, from Brand New Fresh Builds to repurposing older hardware and upgrading existing setups. I first developed this passion when i was just 12 years old, after being inquisitive and deciding to take apart the family computer. At this time, I didn't have a clue what i was doing, apart from it was going to open up a whole new world to me. After some tinkering, i managed to reassemble the system and have it working as intended. This was mid 1990's before their was access to the internet for reference purposes.
Experience
Over the years I have managed to design and build many systems, each unique and tailored towards their individual use case for both clients, friends and family. Gaming PCs often have different specifications then workstations or thin clients, so knowing the use case of the individual can greatly change the components needed to fulfil the task. Ensuring the right components, their limits, compatibility and features is essential in getting the best performance needed for the client.
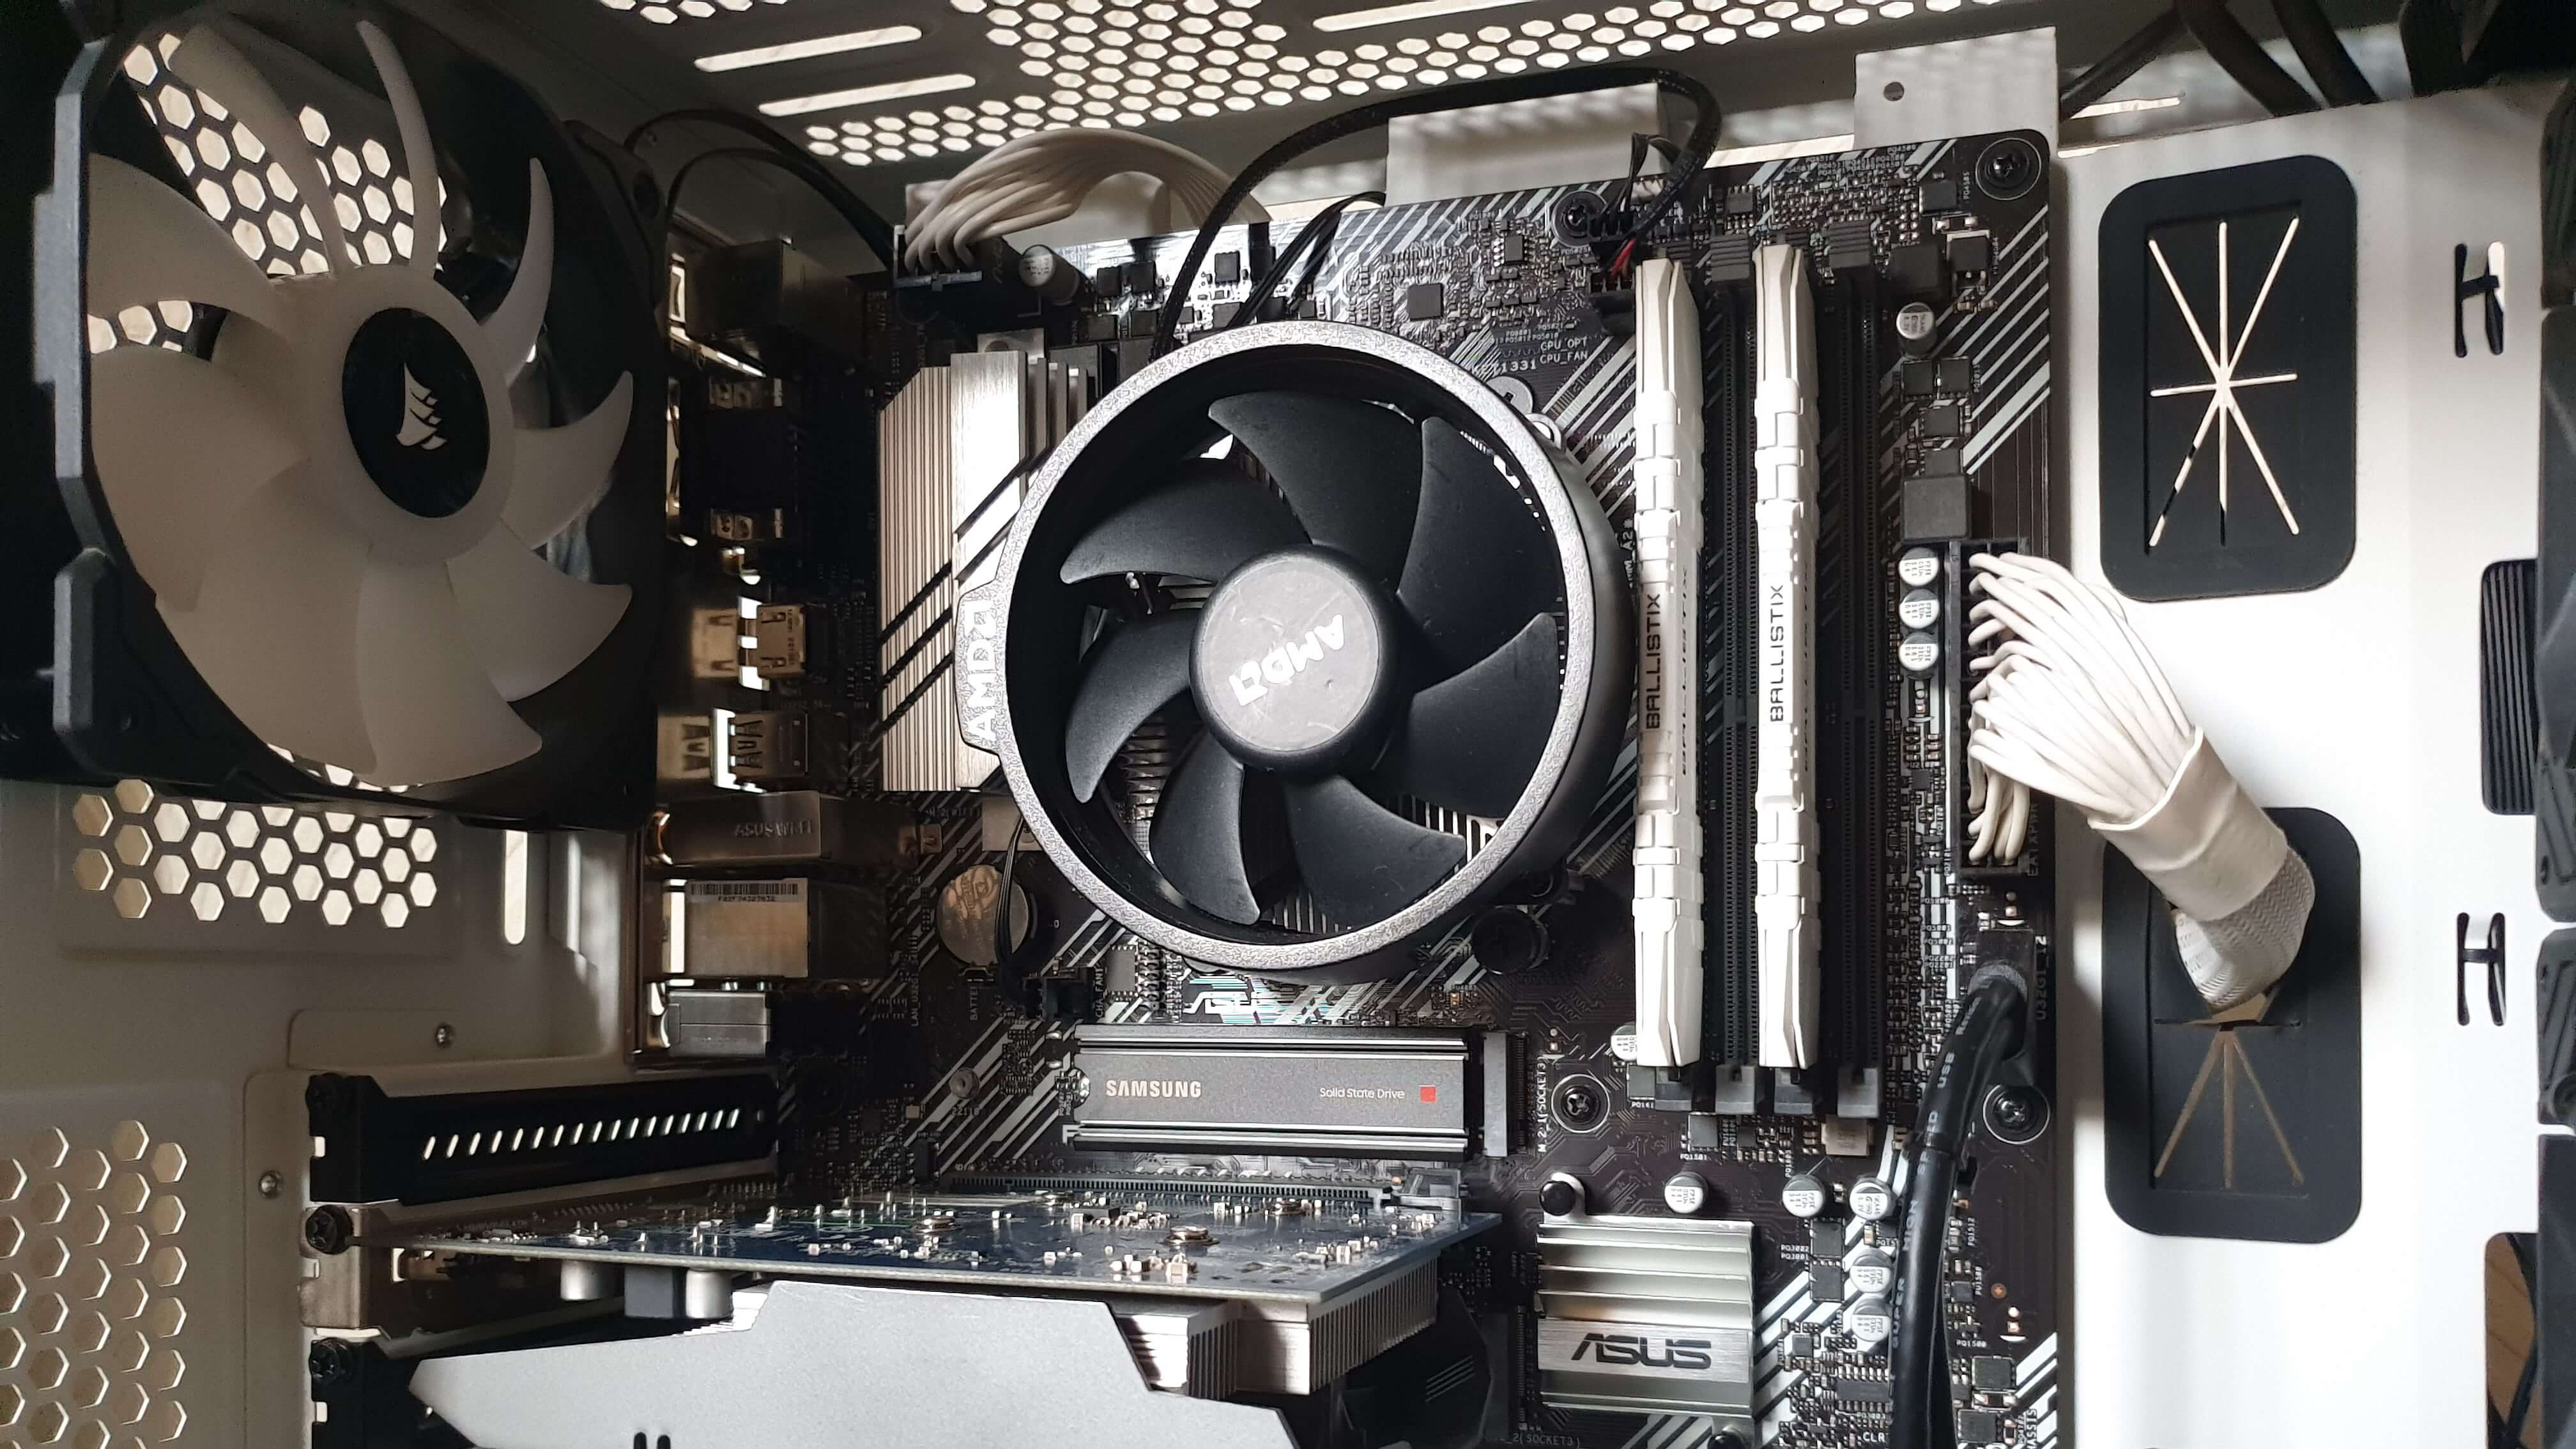
AMD Black & White Build
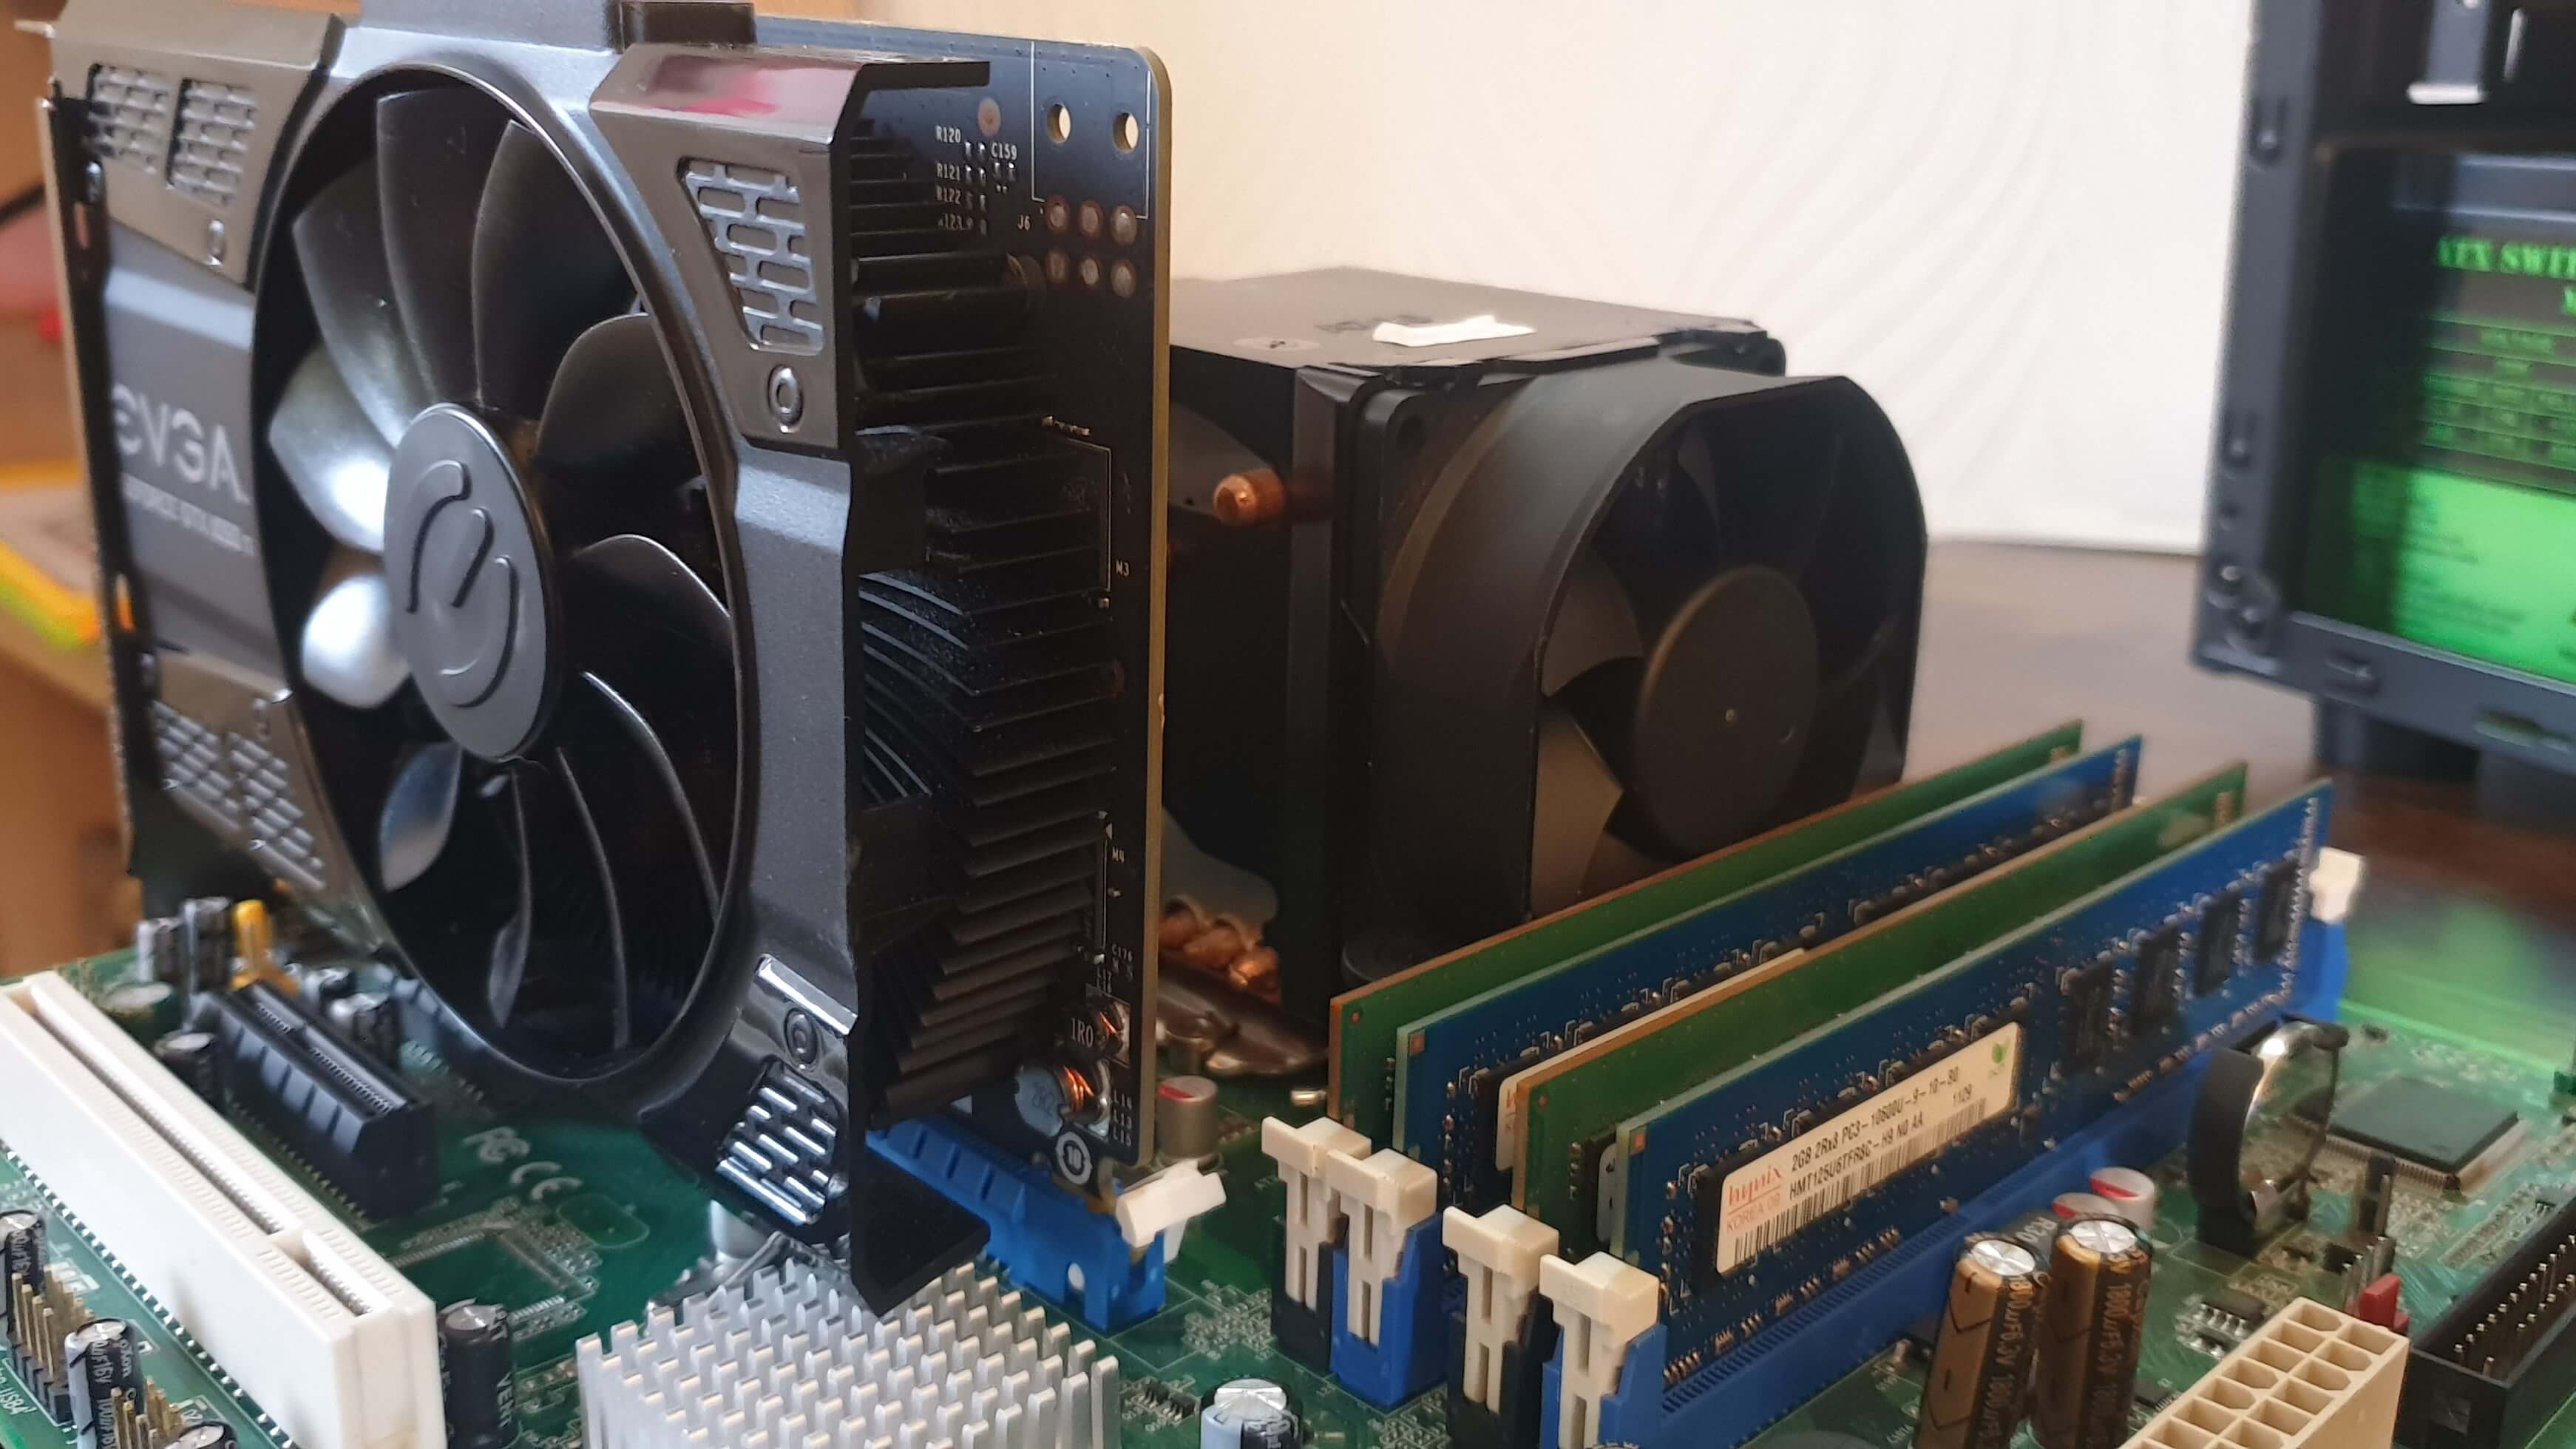
EVGA GPU & Components
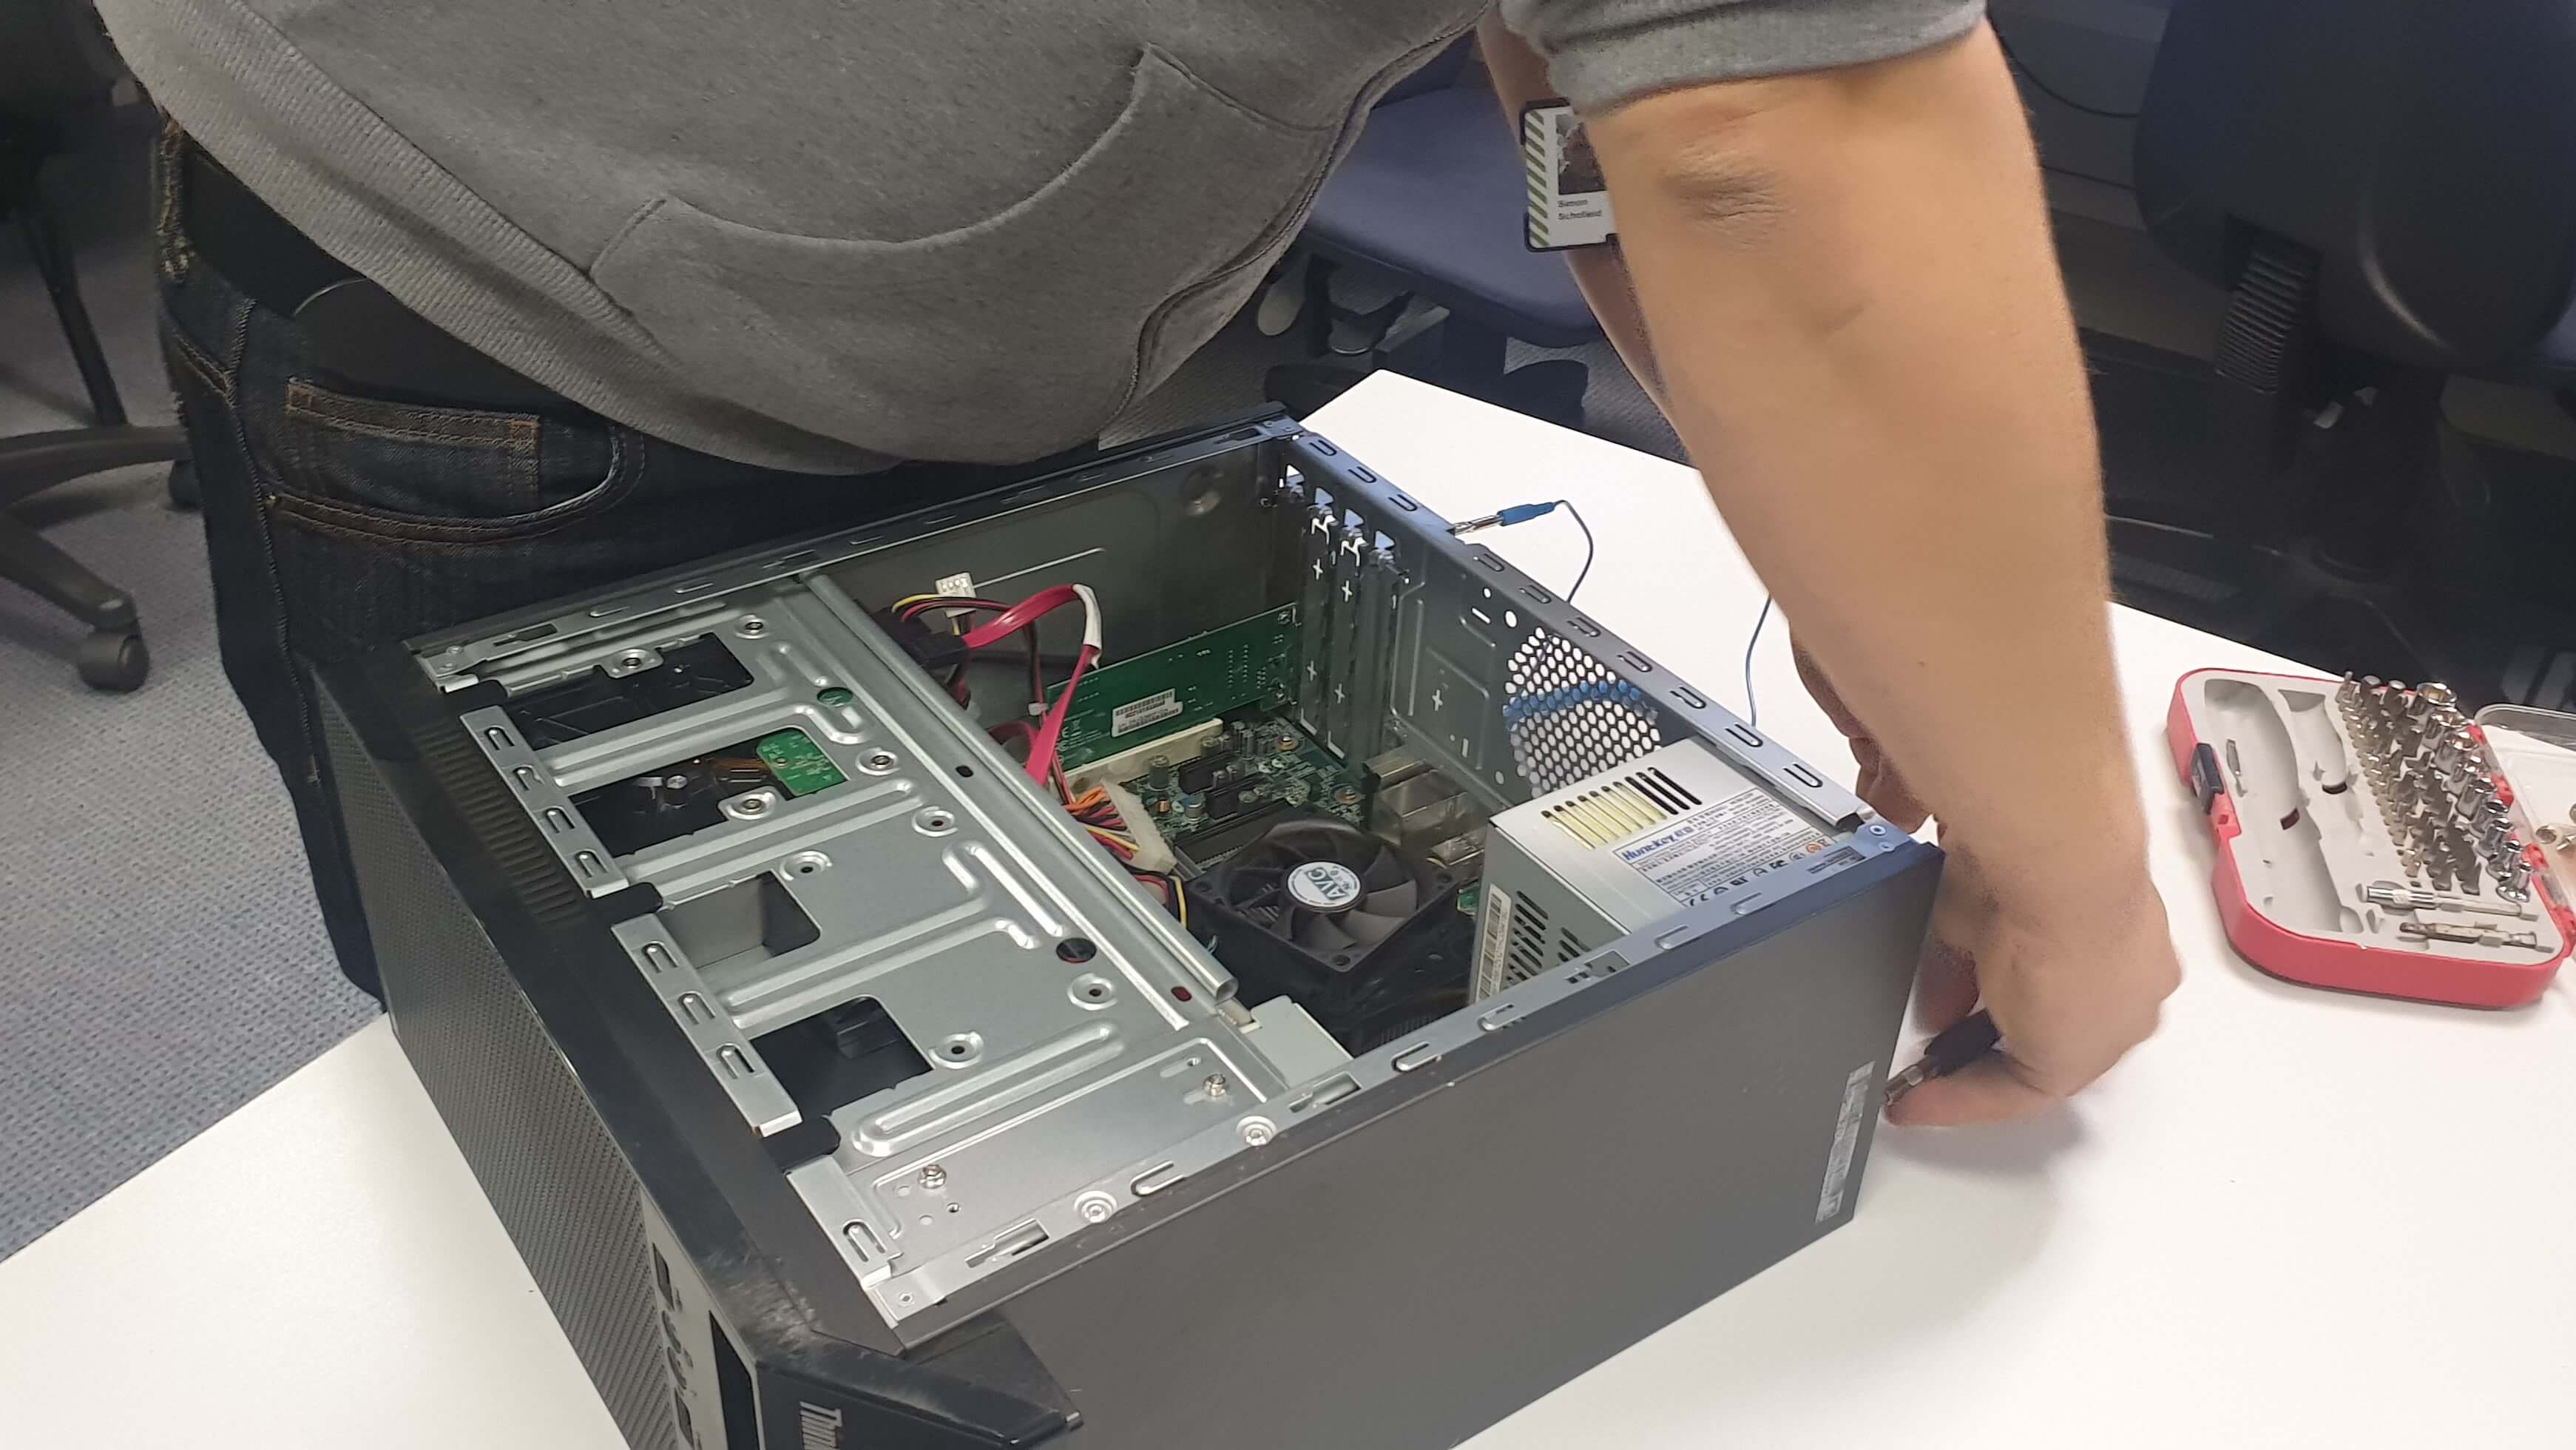
Repurposing Older Equipment
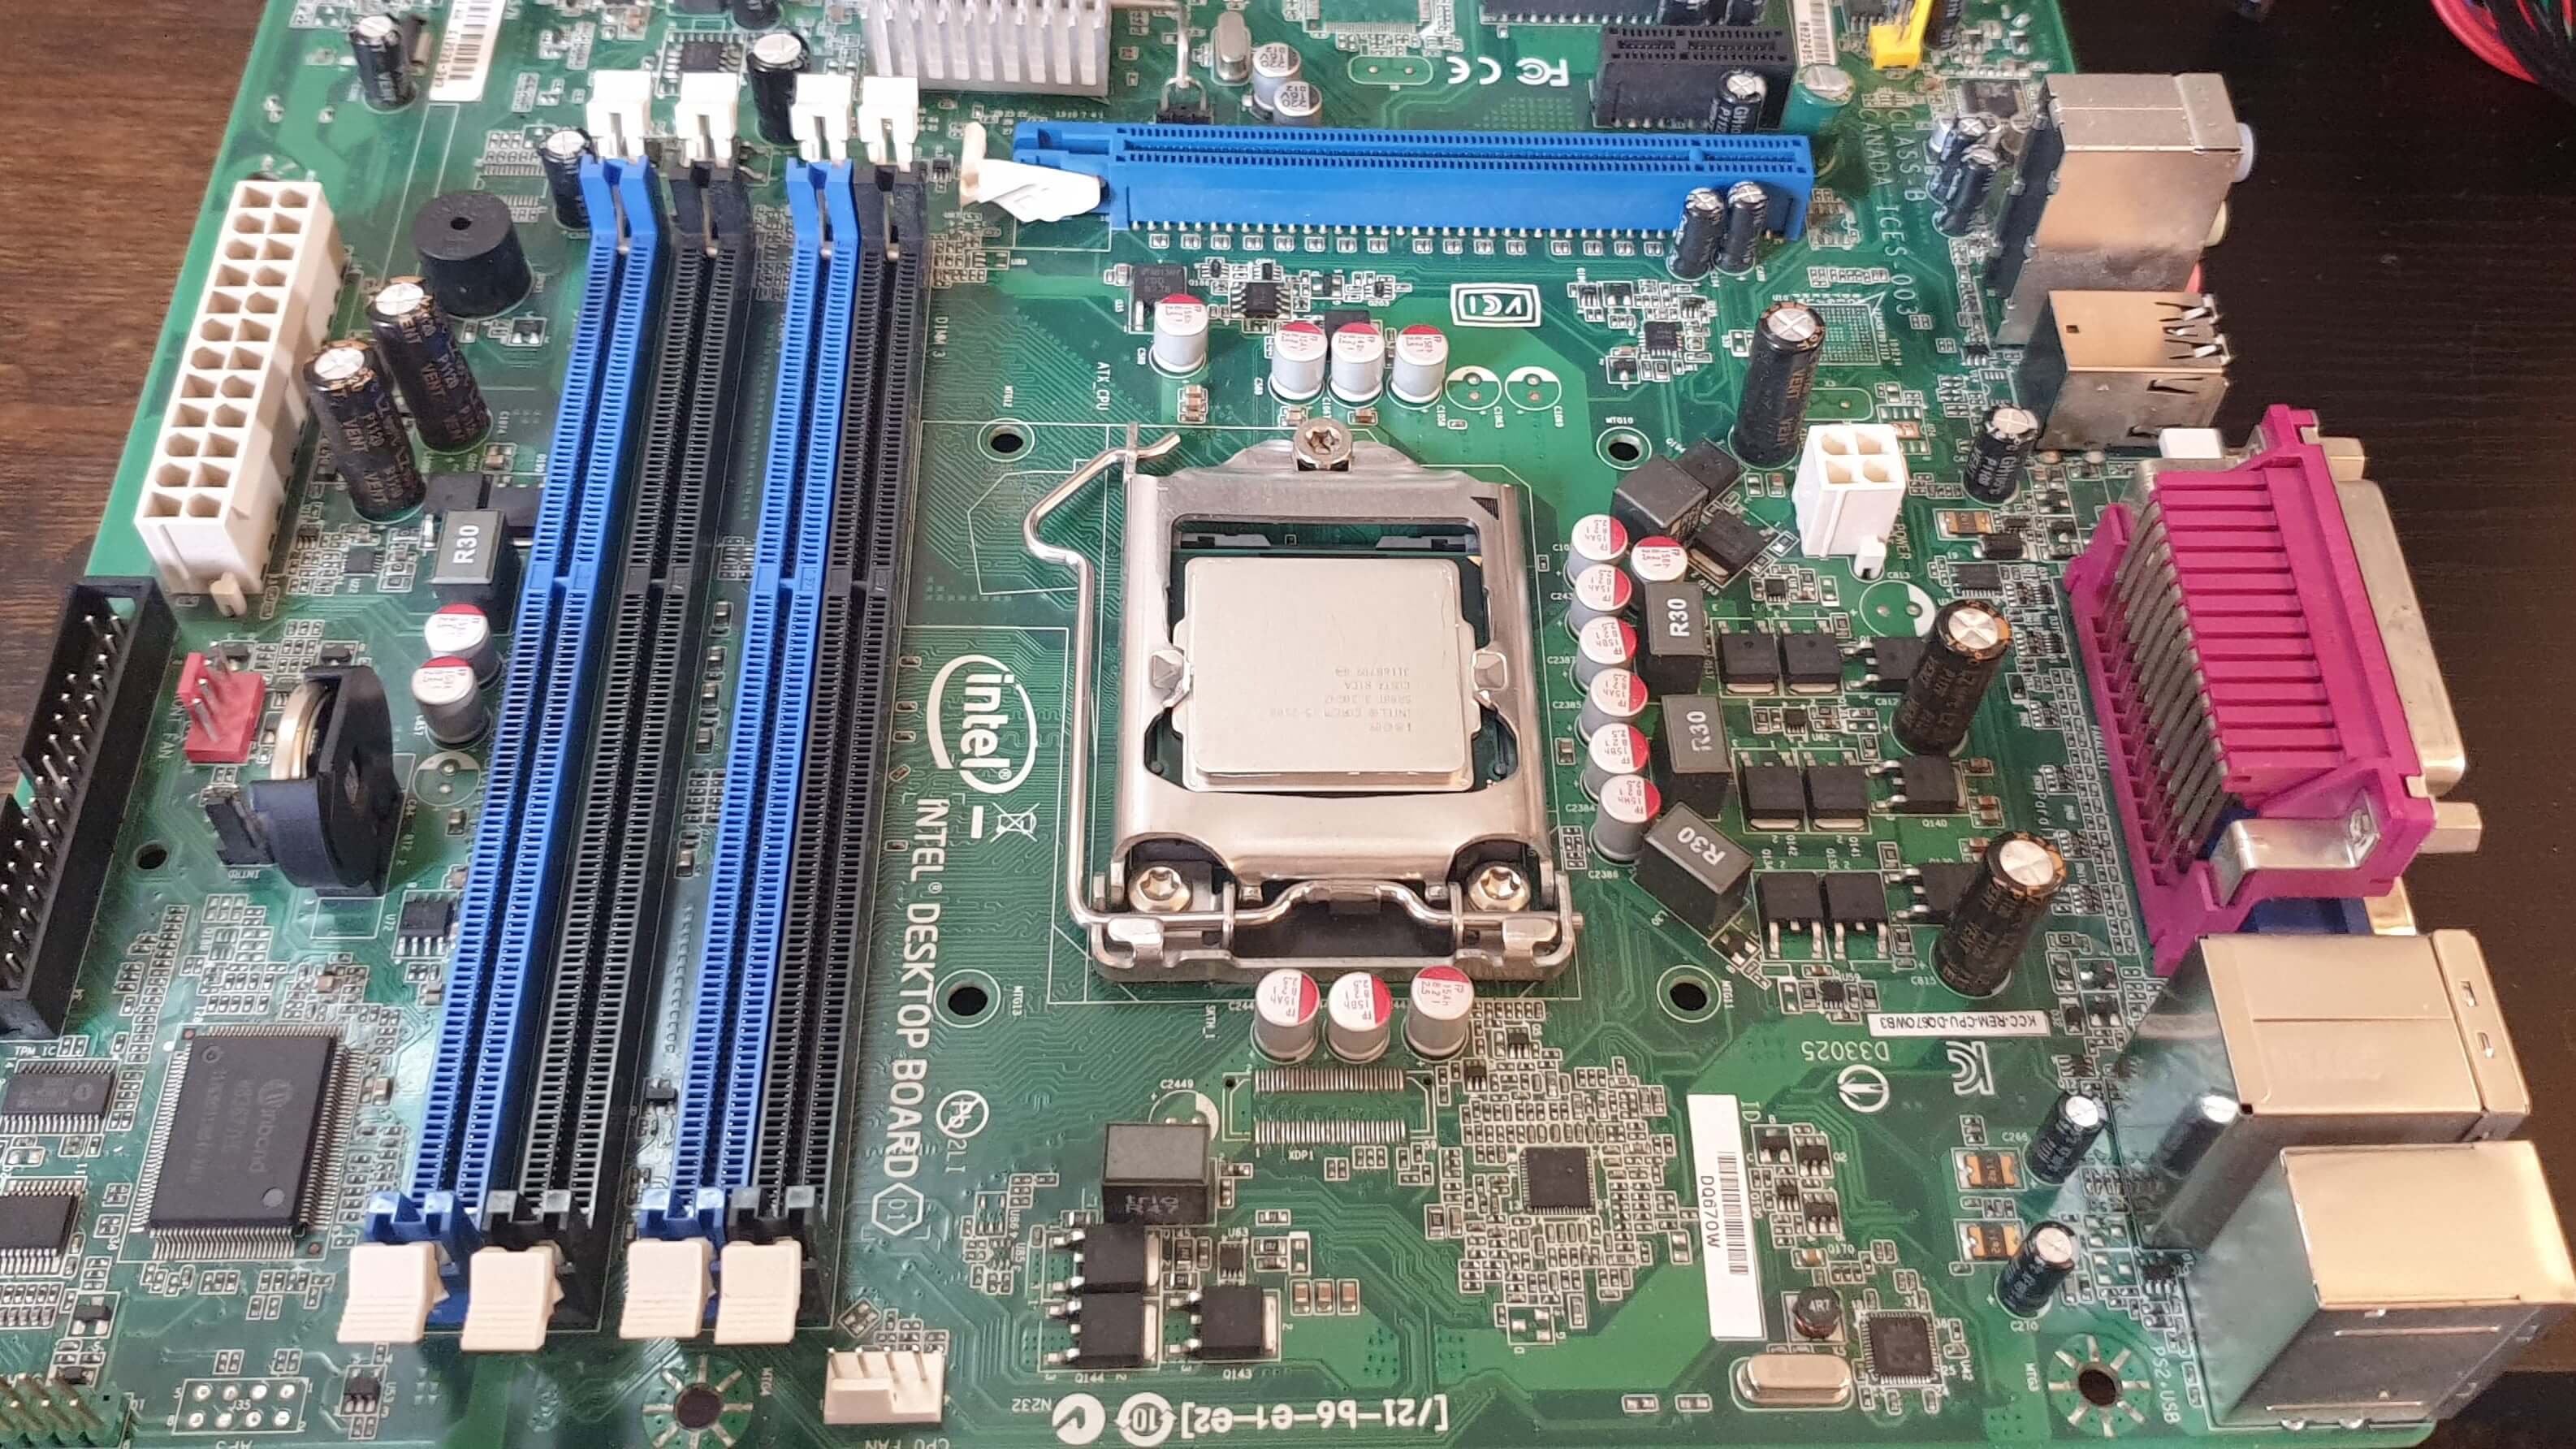
Intel Motherboard & CPU
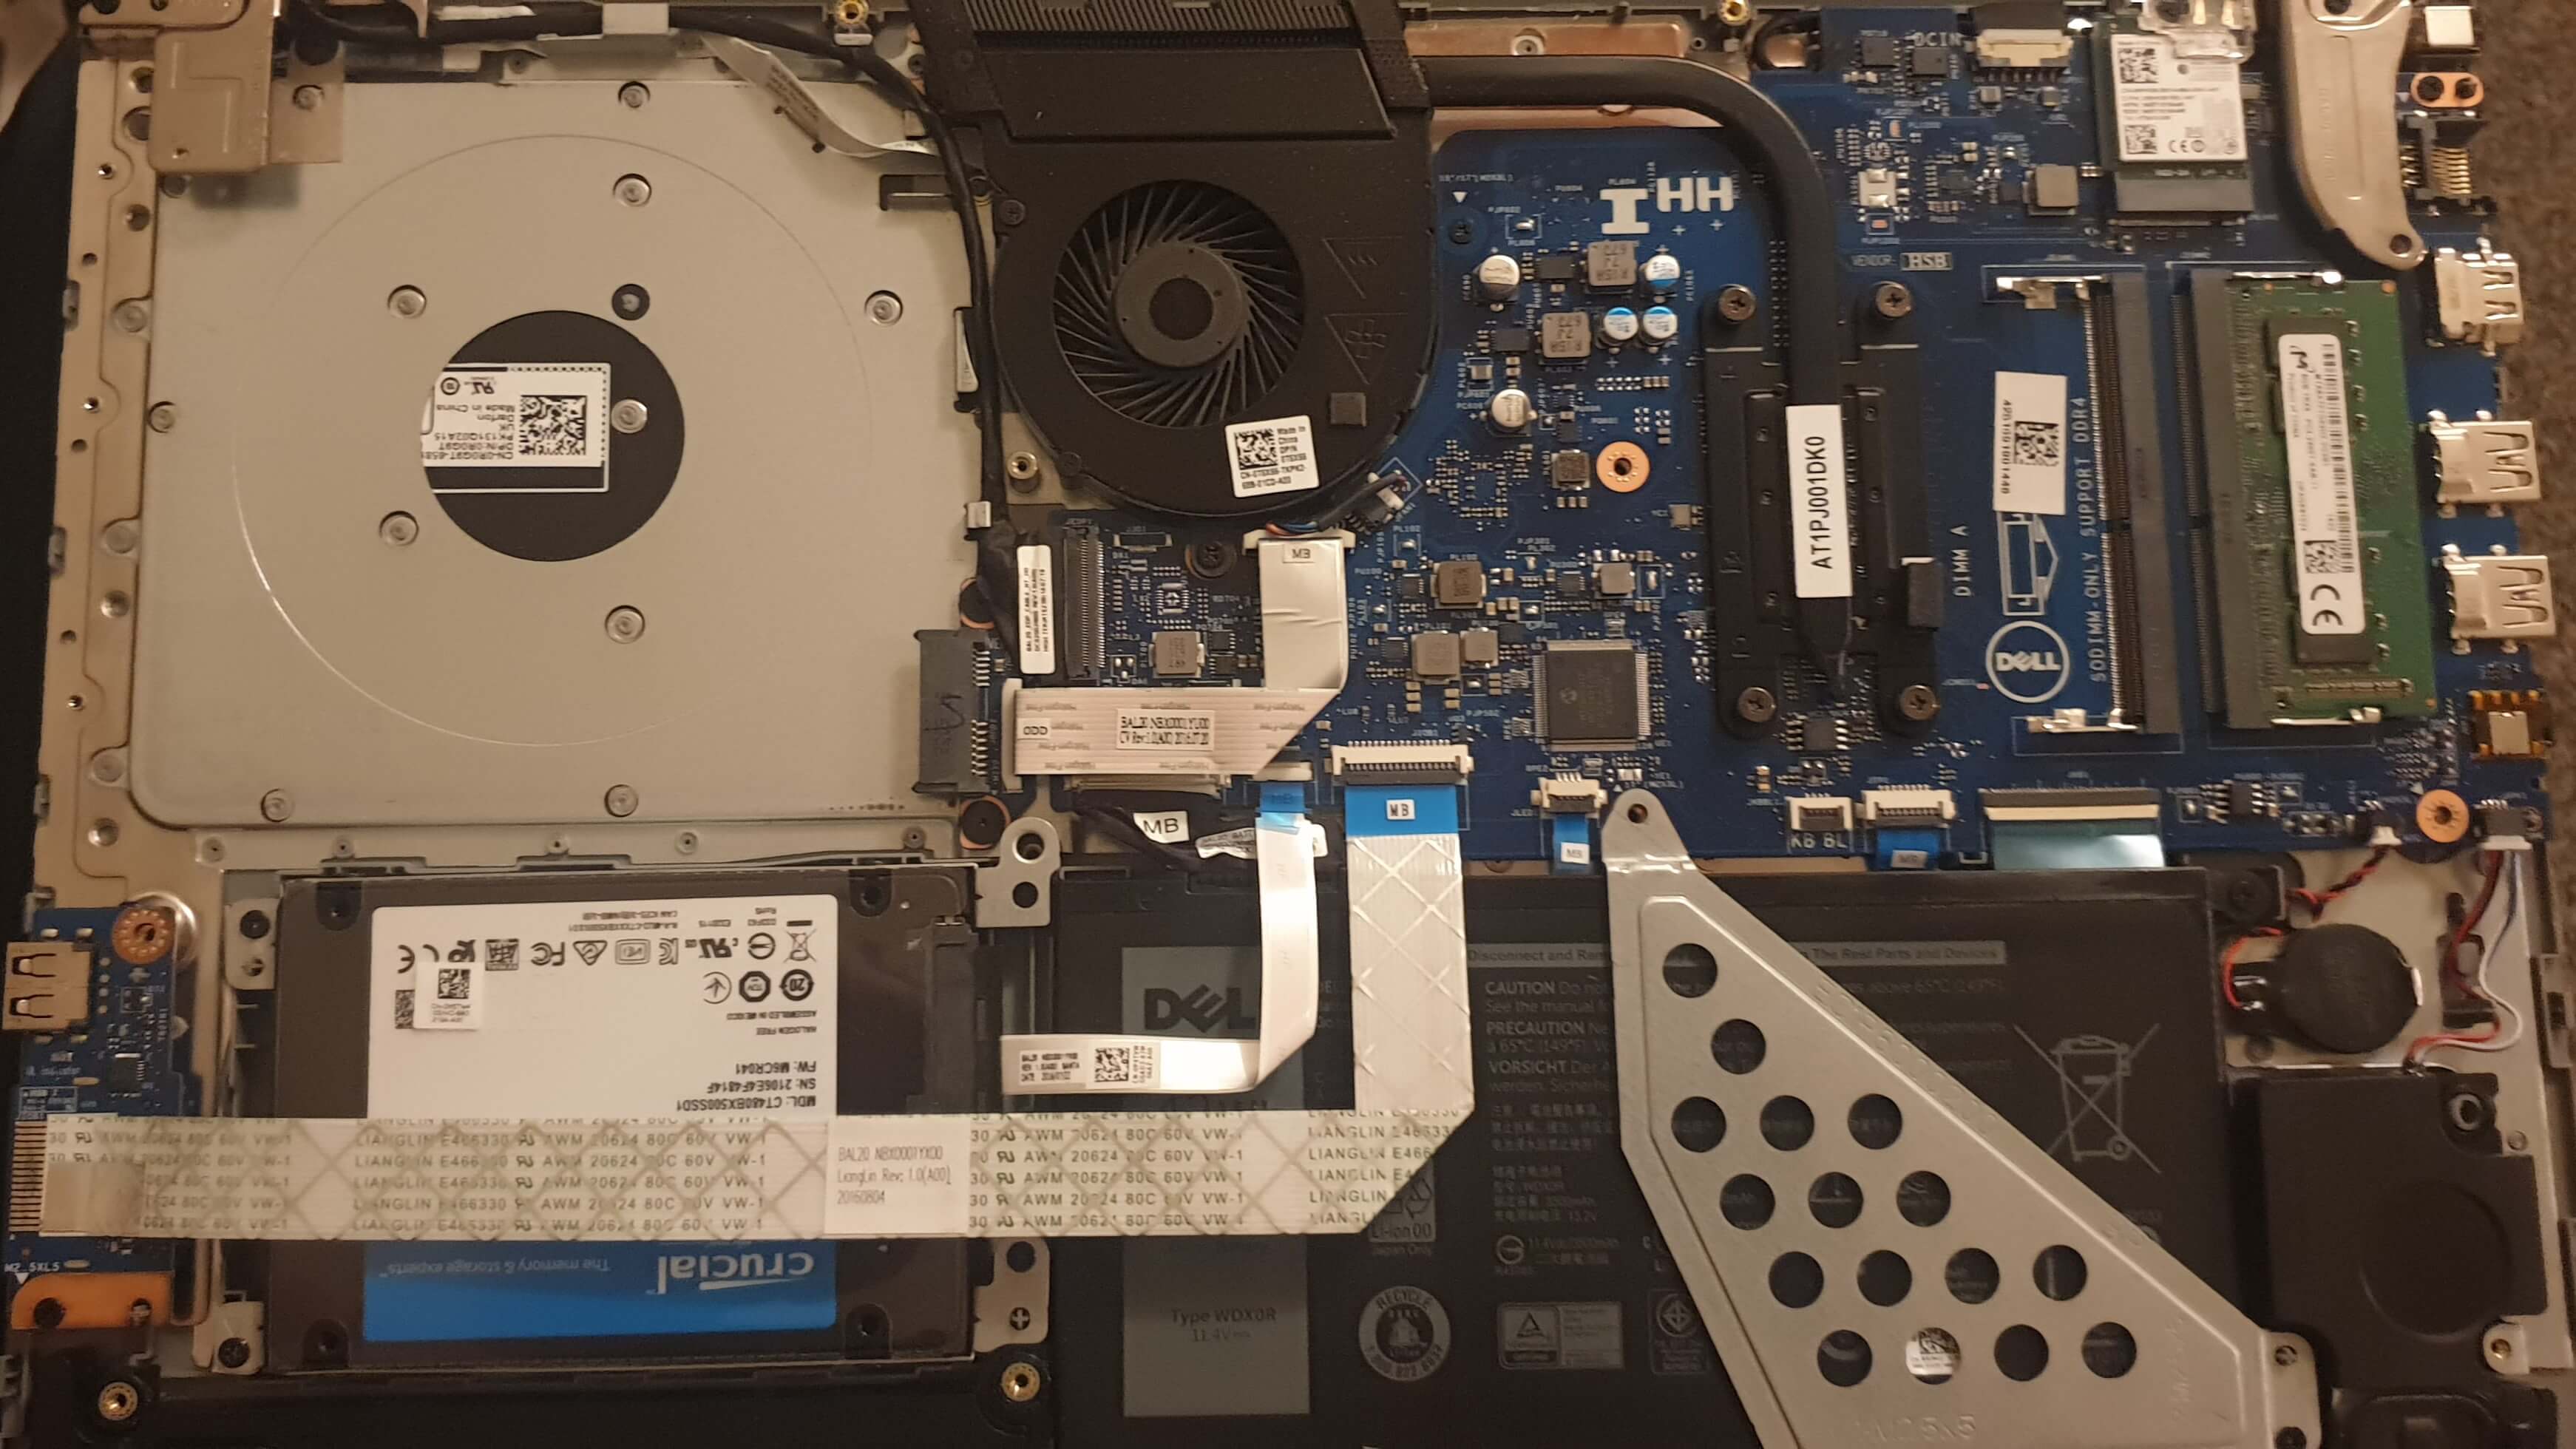
Internal Components Of A Laptop
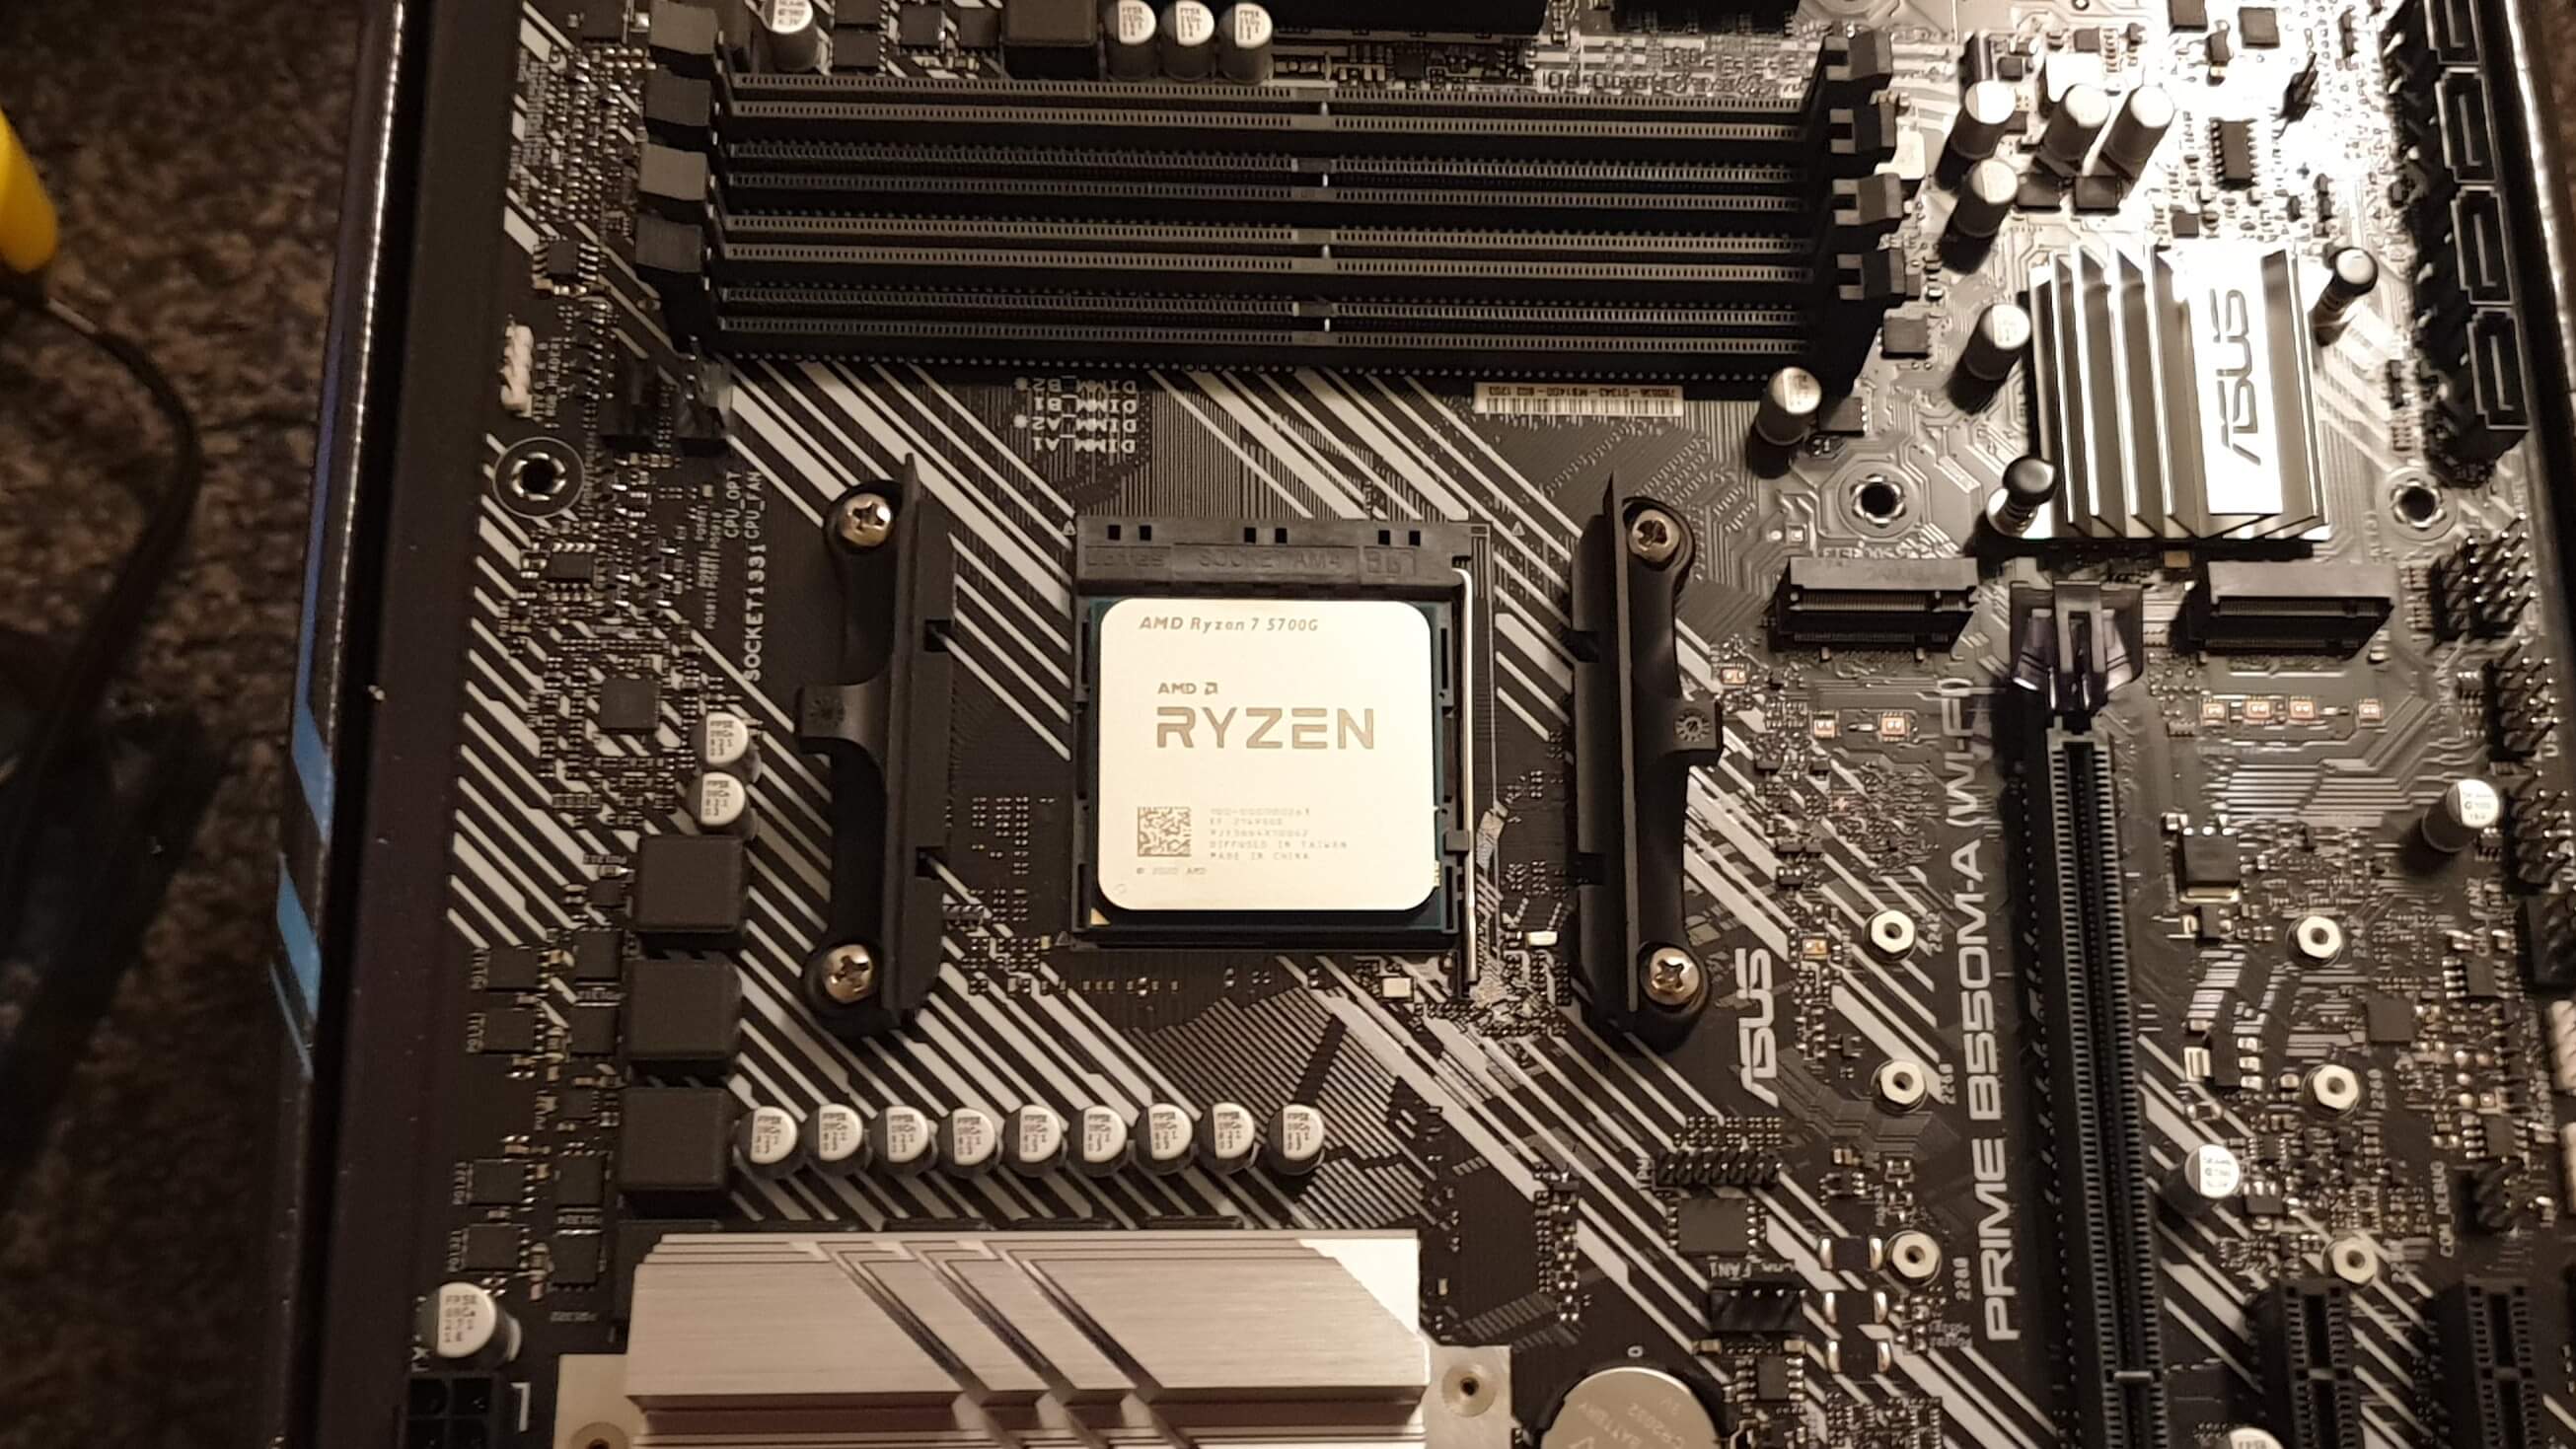
Ryzen 7 5700g CPU
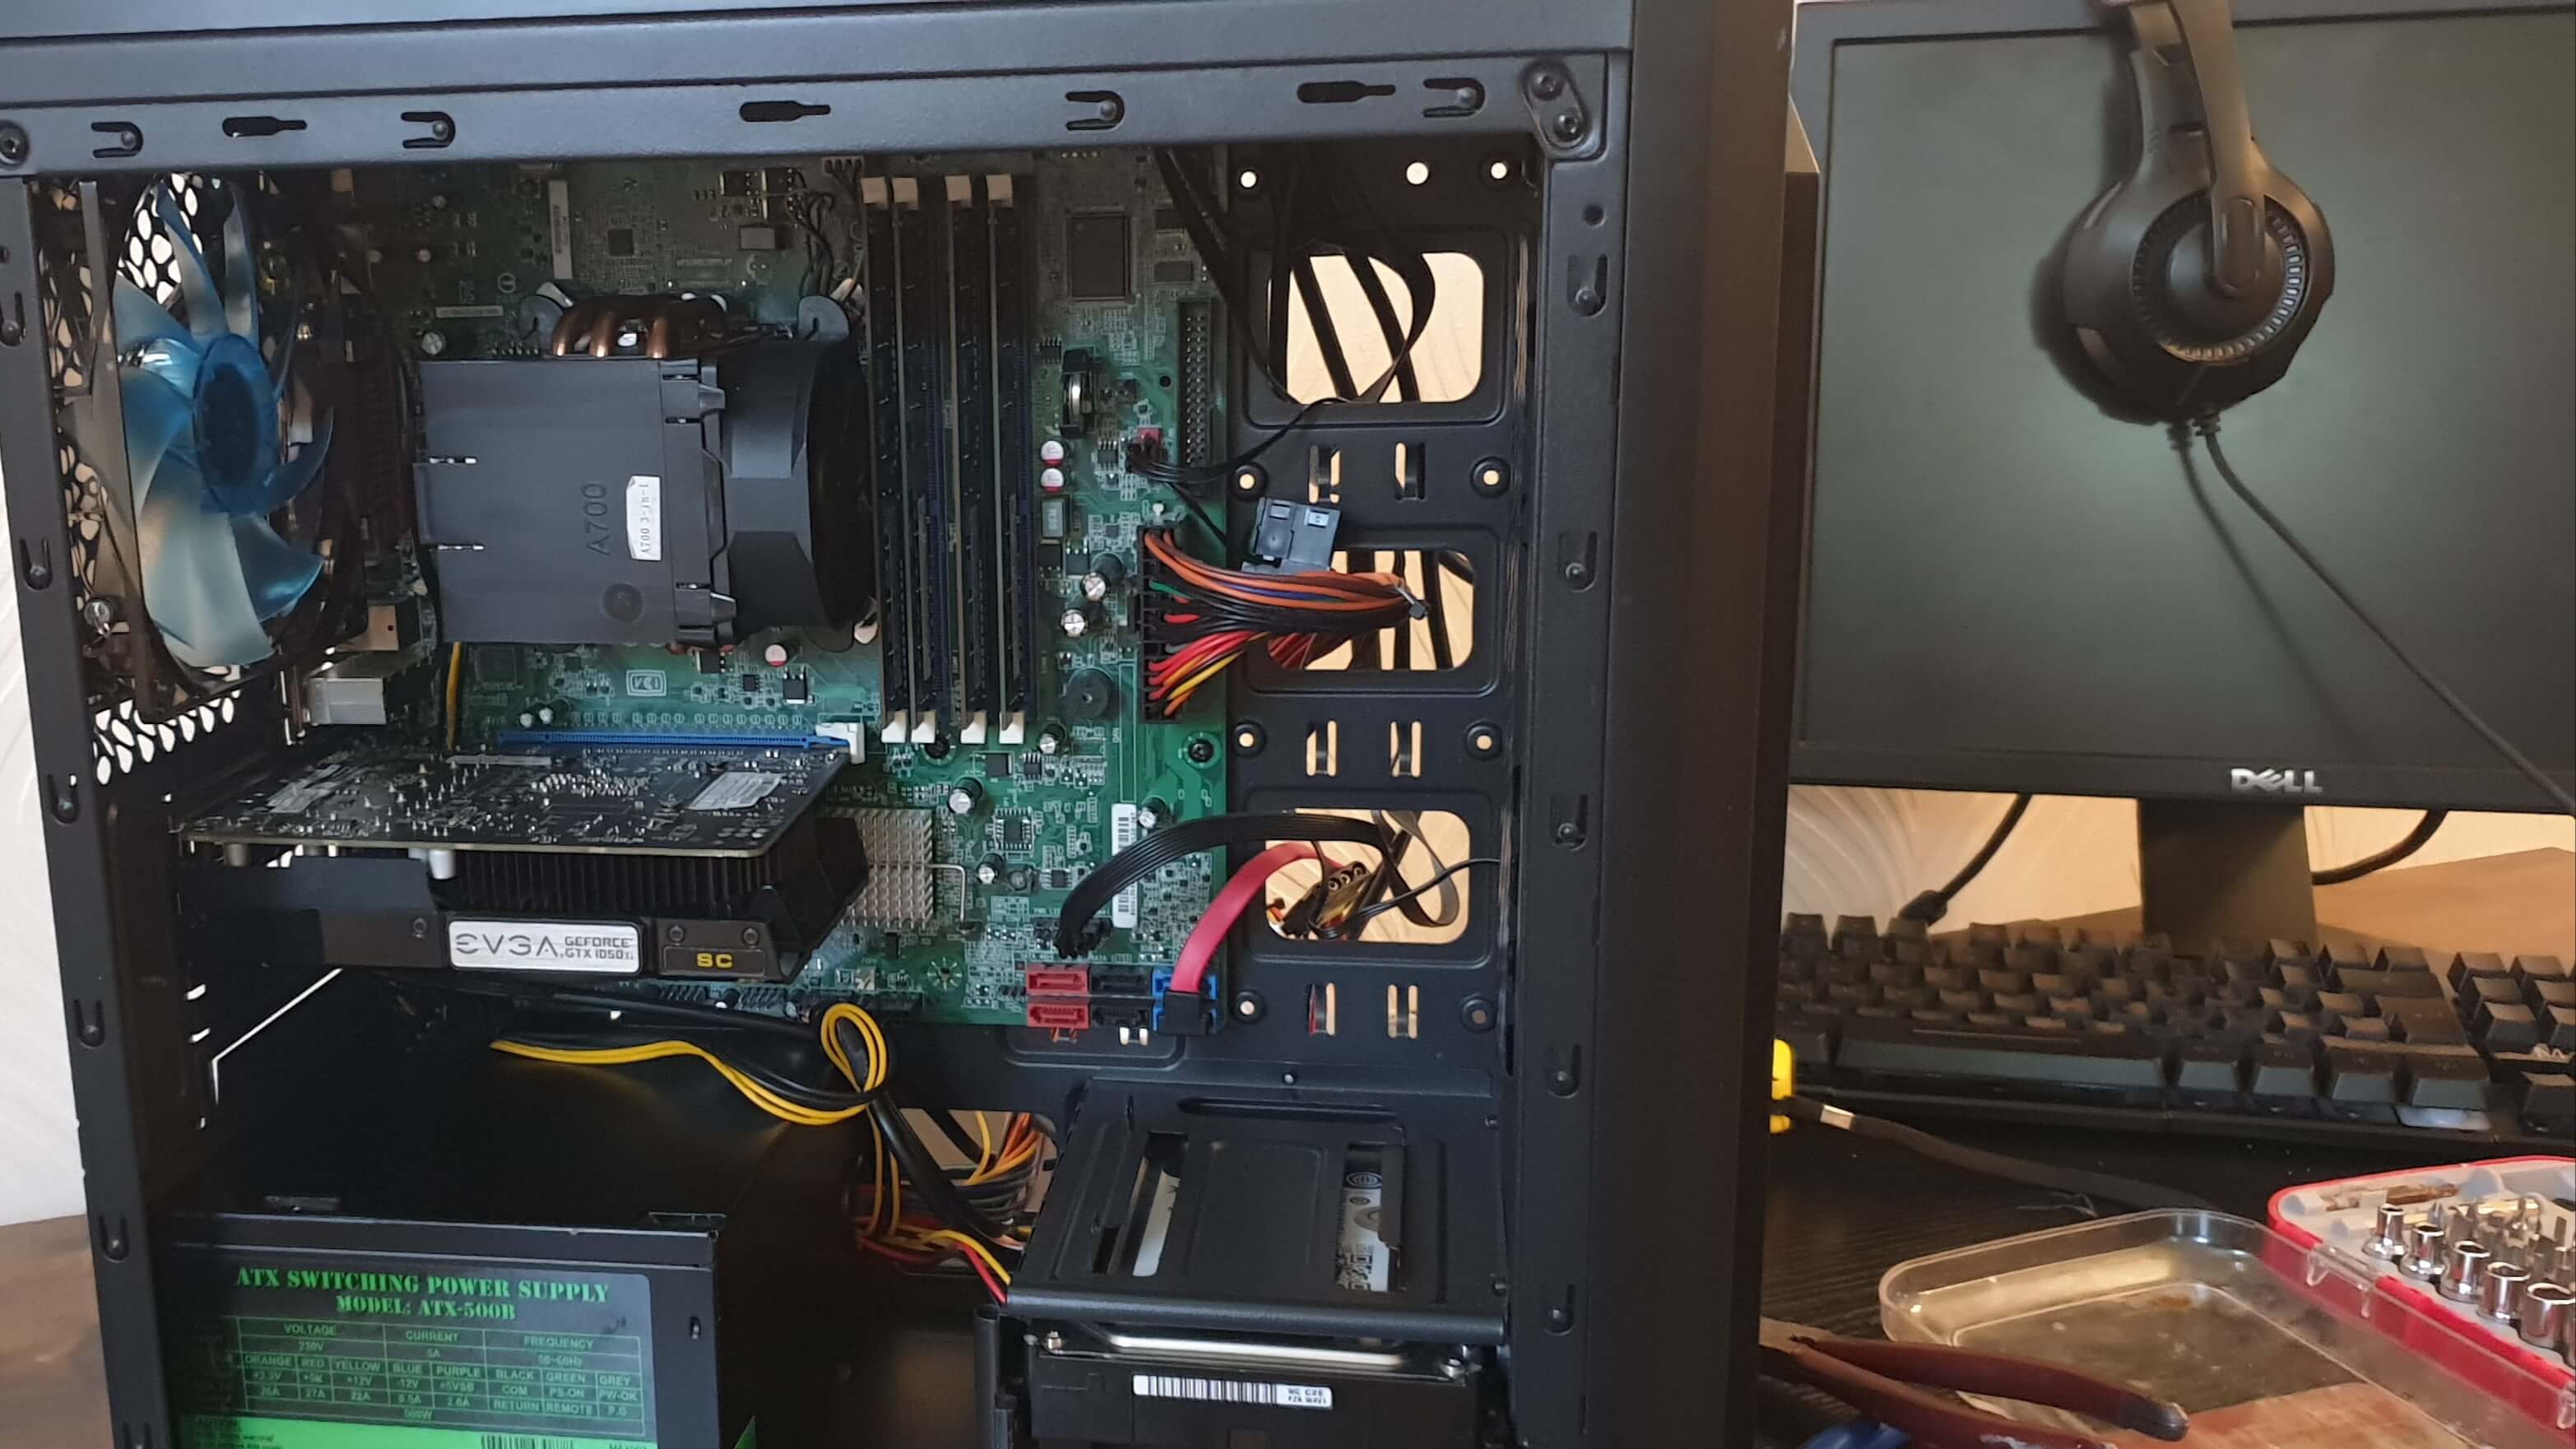
Open Case During Mounting
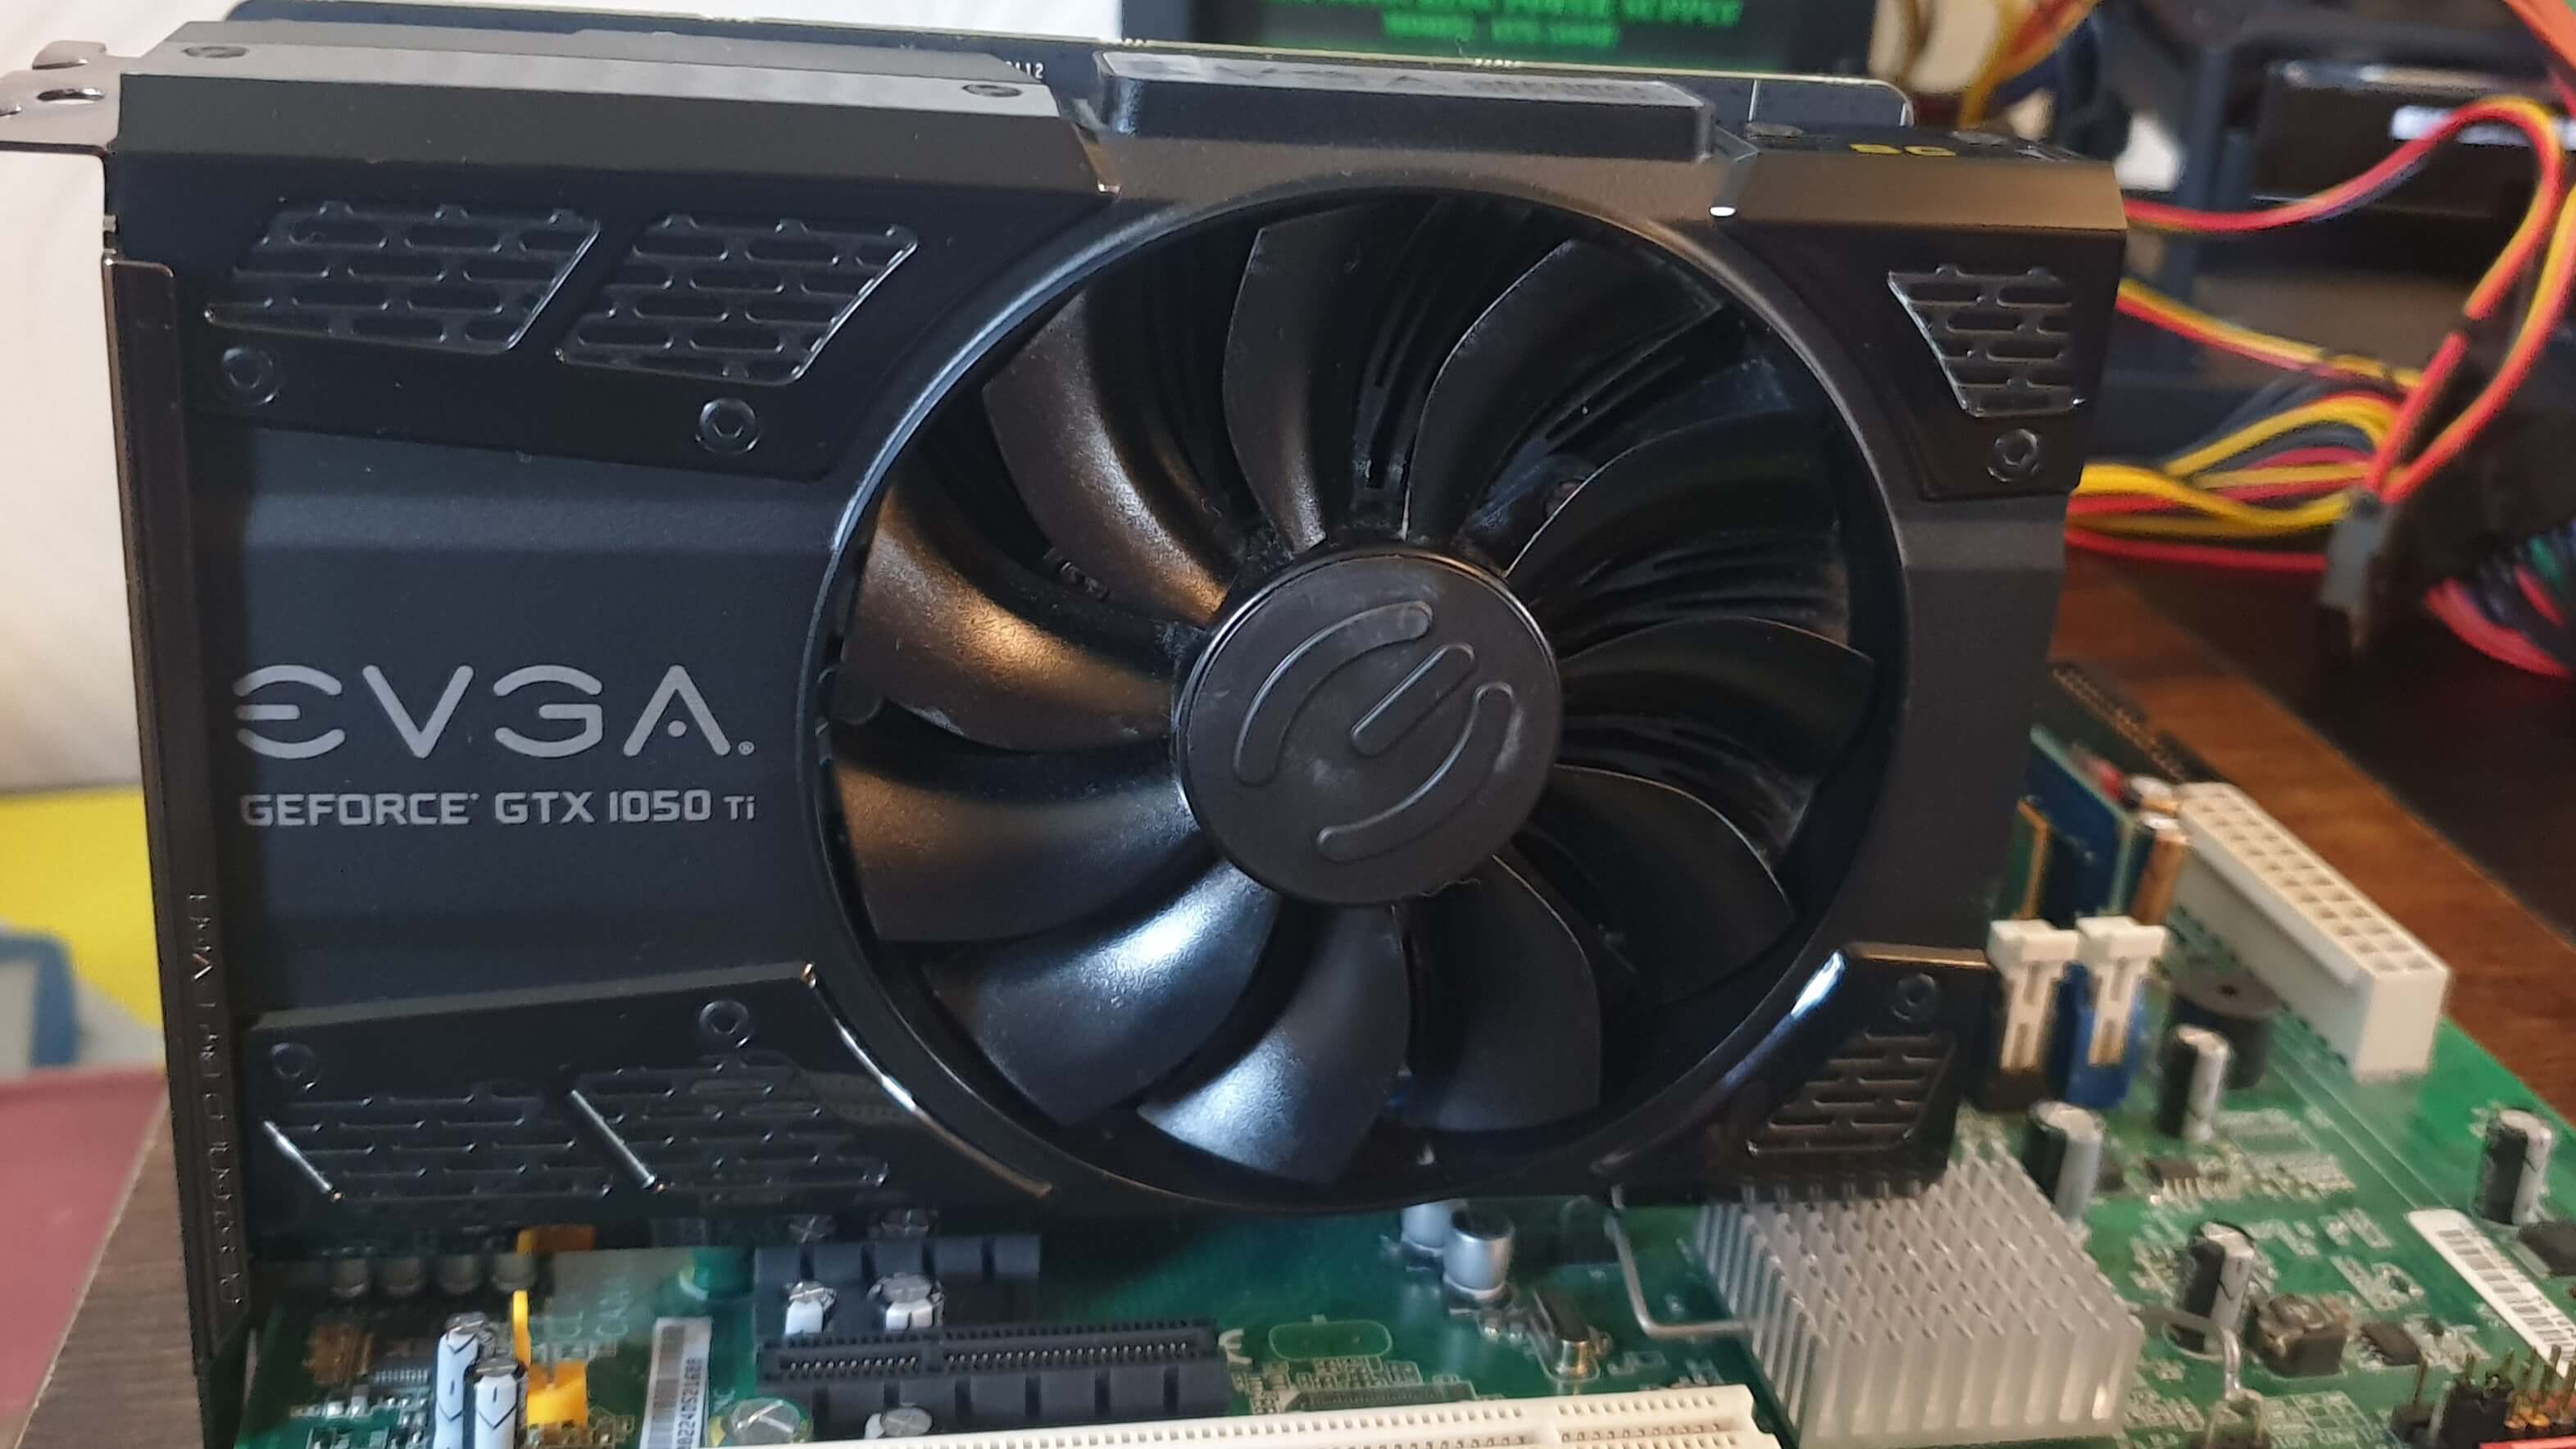
Graphics Processing Unit
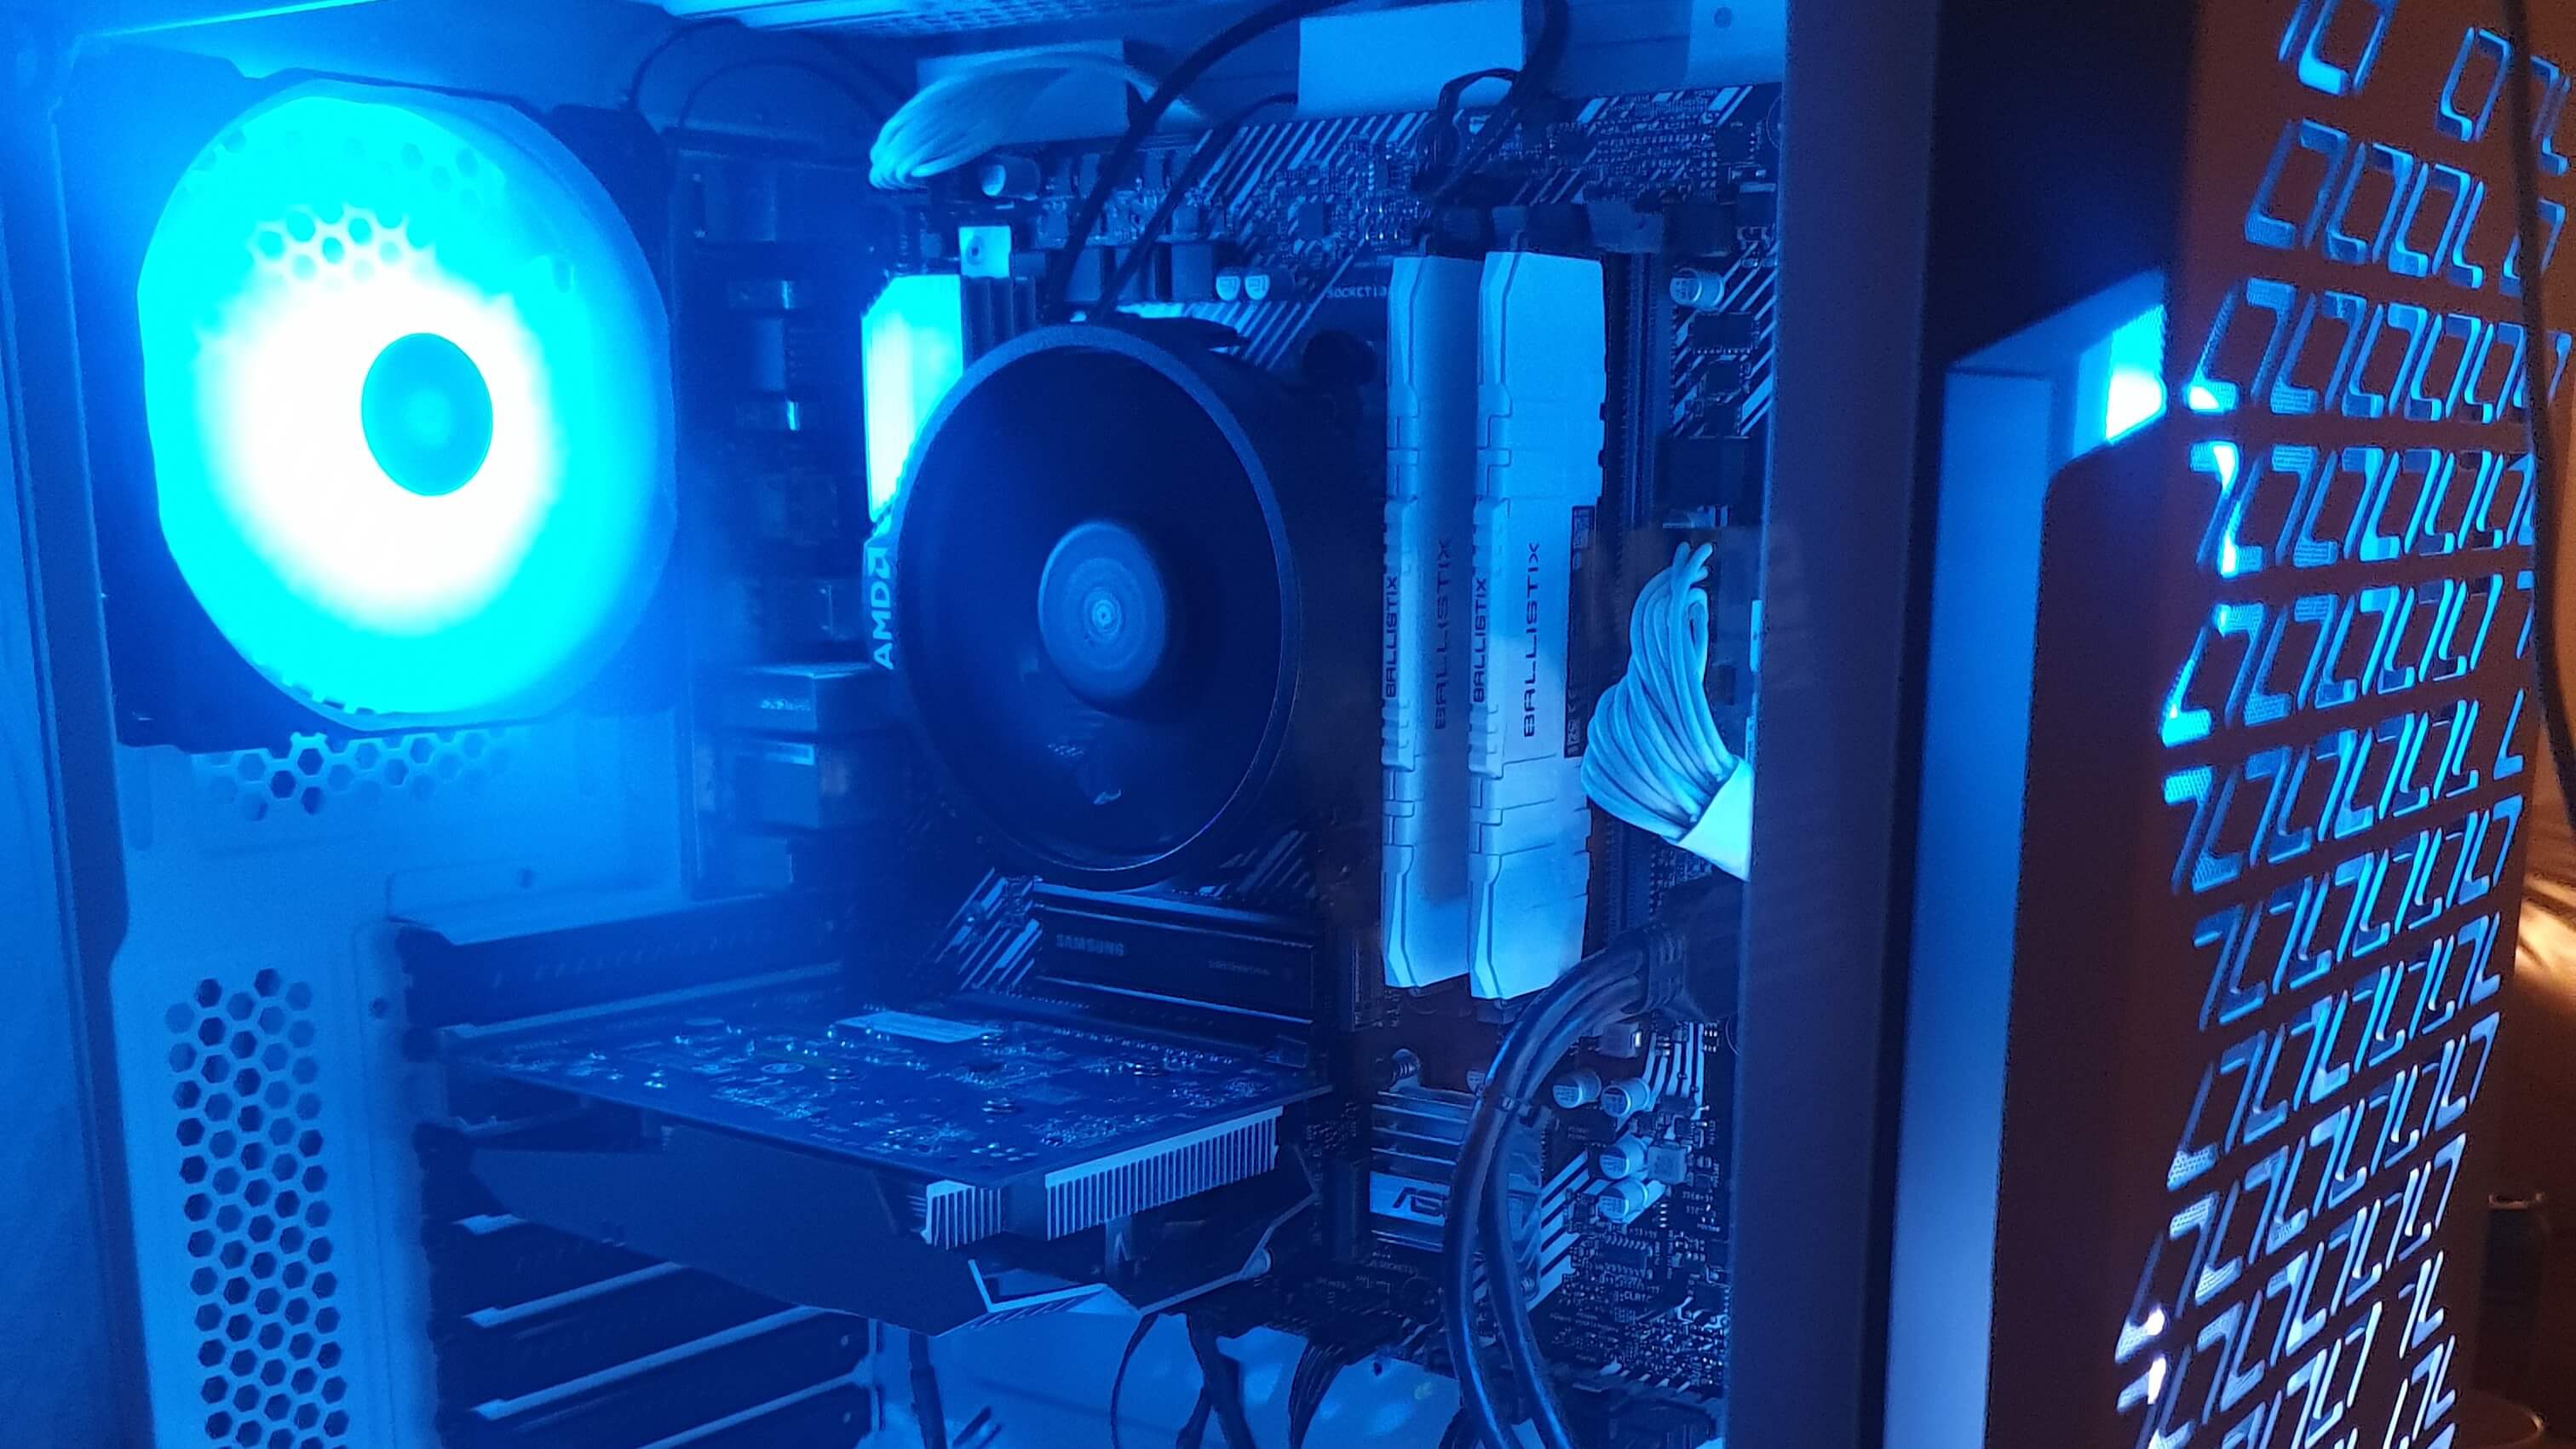
Additional RGB Case Fans
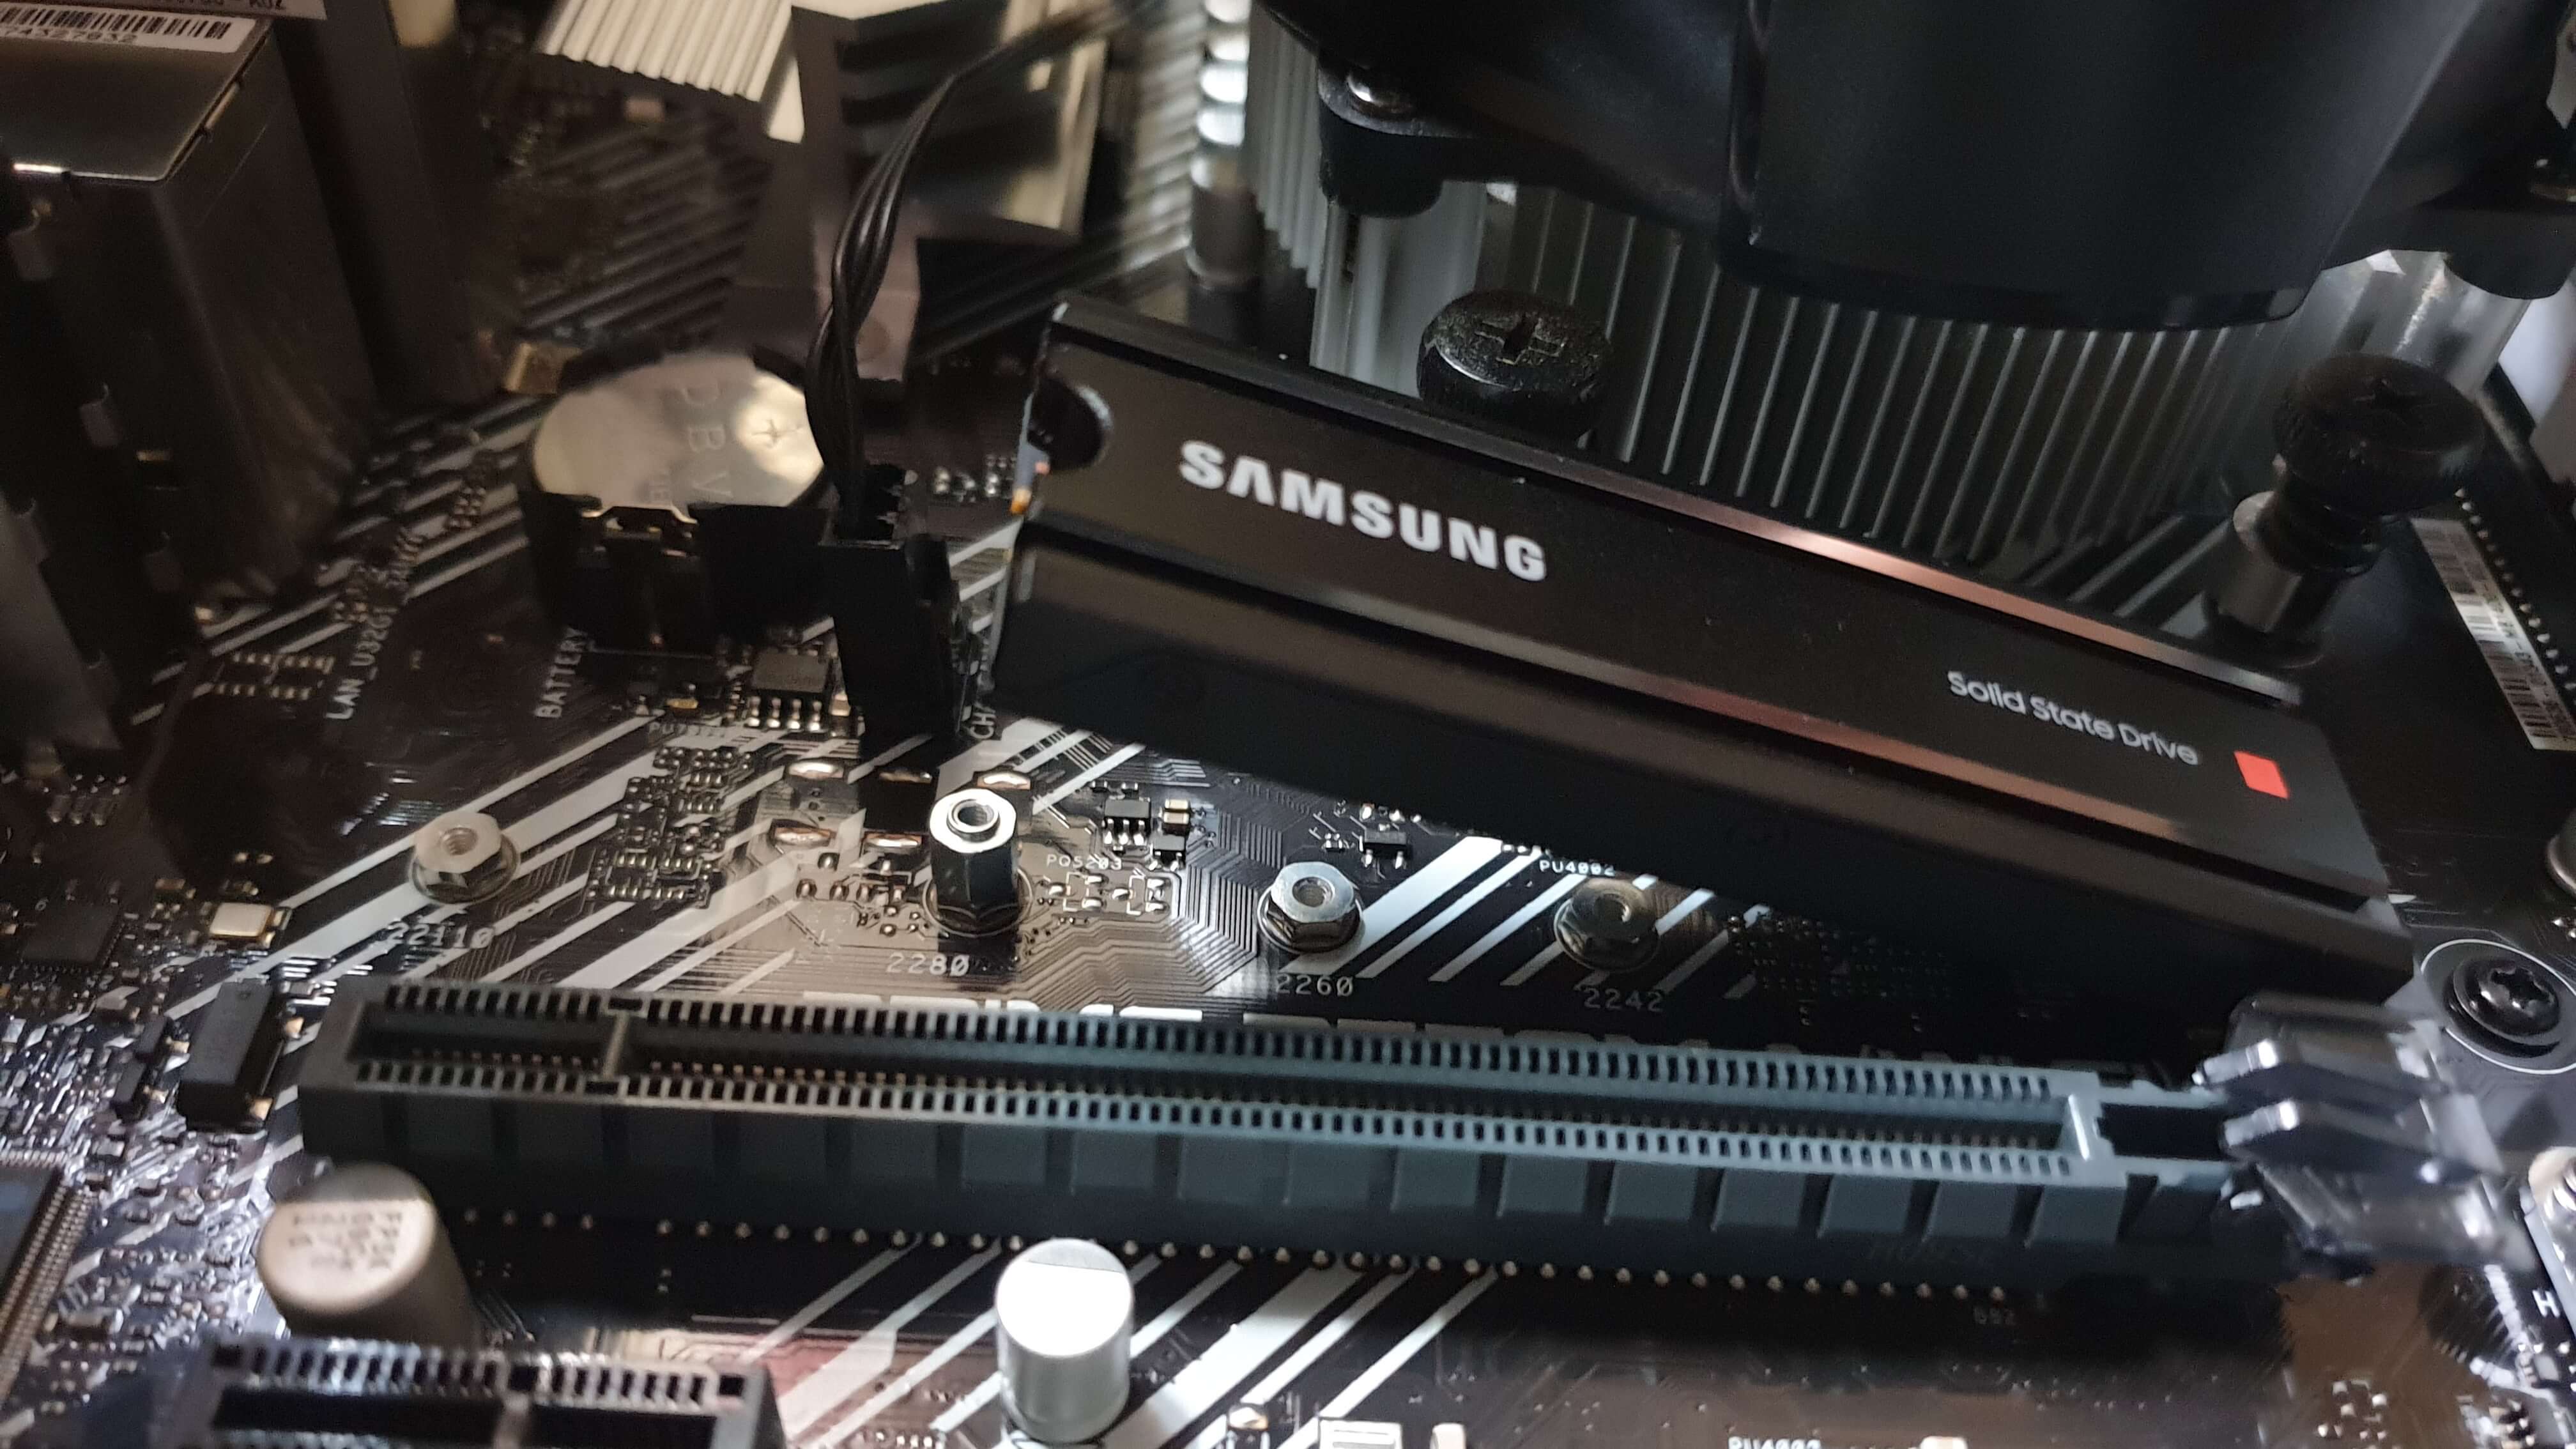
Mounting An M.2 SSD Direct To Motherboard
Understanding The Fundamentals
With the vast market available of computer components, storage solutions, cooling solutions, cases and peripherals each system being built is going to be truly unique. Ensuring the right combination of hardware is essential to creating a balanced and efficient system and each component needs to be taken into account and chosen to best suit for the use case. A computer system can be compared to the human body, with each carrying out a different functionality to ensure the ecosystem runs effectively.
CPU
The CPU (Central Processing Unit) is the brain of the computer. Just like our brains, the CPU handles the processes, decisions, instructions and calculations that keep the computer running and performing its required task. CPU’s are much faster then our own brains work and can do calculations rapidly and accurately.
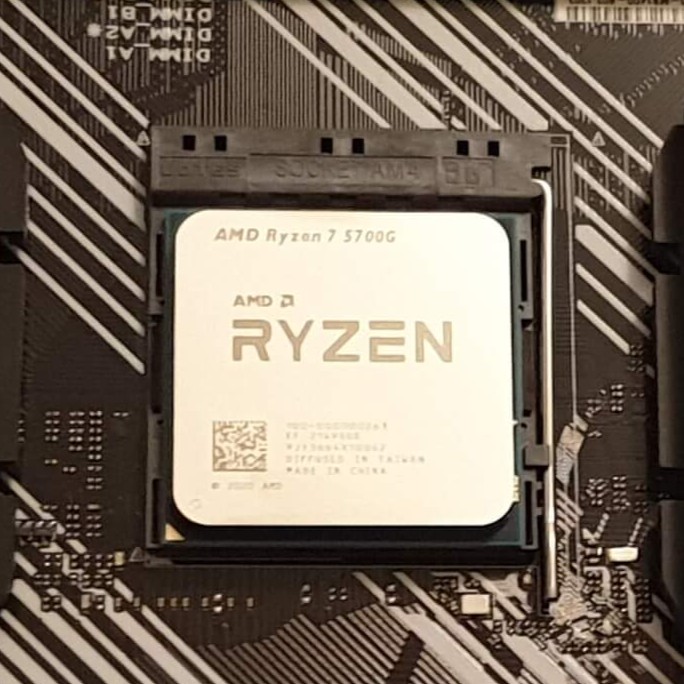
GPU
The GPU (Graphics Processing Unit) is like the eyes of the computer. It is responsible for the rendering of graphics to display to the user, including images, video and animations. They can be integrated into the CPU, such as in the Intel Core series, however are usually more powerful with a dedicated GPU added to the system. Dependant on the use case of the system, more powerful GPU’s maybe required for graphical intensive uses such as Gaming or Graphical Design in addition to the power of GPU’s being utilised for AI intensive tasks. GPU’s come equipped with VRAM (Video Random Access Memory) which is a high speed memory located directly on the GPU itself. This VRAM allows for the storage of data related to graphical tasks such as texture maps, models, geometries and lighting maps for the GPU to access quickly and process as fast as possible.
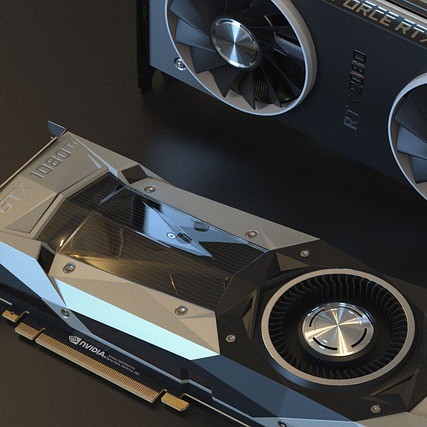
Motherboard
The Motherboard of the computer acts like our own nervous system. It provides an interface for all the internal components, allowing them to communicate together to carry out the functionality. Motherboards are a complicated and intricate collection of power rails, lanes, VRM’s (Voltage Regulator Modules), Mosfets, headers and sockets for connecting components. Each of these allow the exchange of data and/or data across the system depending on the dedicated interface and allow the system to function effectively.
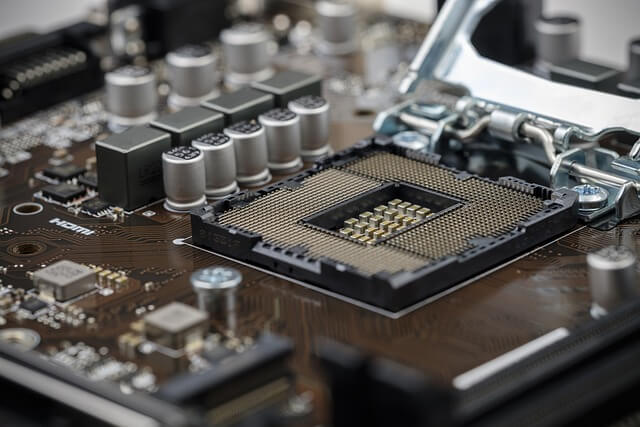
RAM
RAM (Random Access Memory) acts like the body’s short term memory. It is used to store data temporarily that the system needs to access quickly in a cache memory. By doing this, the CPU can access it much quicker and perform tasks even faster then having to delve into storage drives. RAM comes in an array of form factors, as well as capacity levels. The higher the capacity, the more multitasking the computer will be able to handle without slowing down. RAM is often located close to the CPU so the data lanes are short, decreasing the latency between the two components.
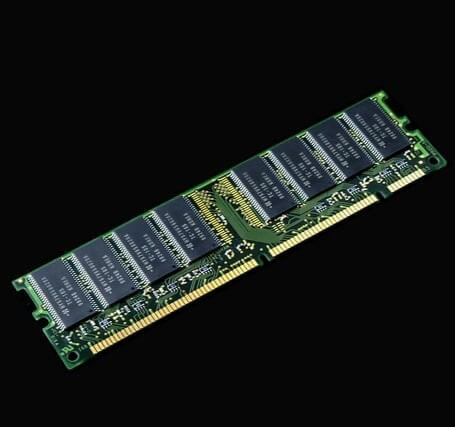
Storage
Internal Storage Devices can include both SSD’s (Solid State Drives) and HDD’s (Hard Disks Drives). These act as the long term memory of the computer, storing both the operating system and the file system of the system. SSD’s have taken up the market these days as they are faster and dropped significantly in price since there introduction. They don’t rely on moving parts, as HDD’s do, instead adopting to storing data on flash memory chips that can be more quickly accessed by the system which improves the performance. They also are more durable as the computer can be moved easily with damaging the drives. Depending on the computer system, a mixture of SSD’s and HDD’s may be utilised for storage solutions or even segregating data, such as having the OS on an SSD, whilst large data files, such as photos and videos, being stored on a HDD to be accessed as needed. This can be beneficial on a performance level, and also in the case that one of the drives fail, the system as a whole is not lost completely.
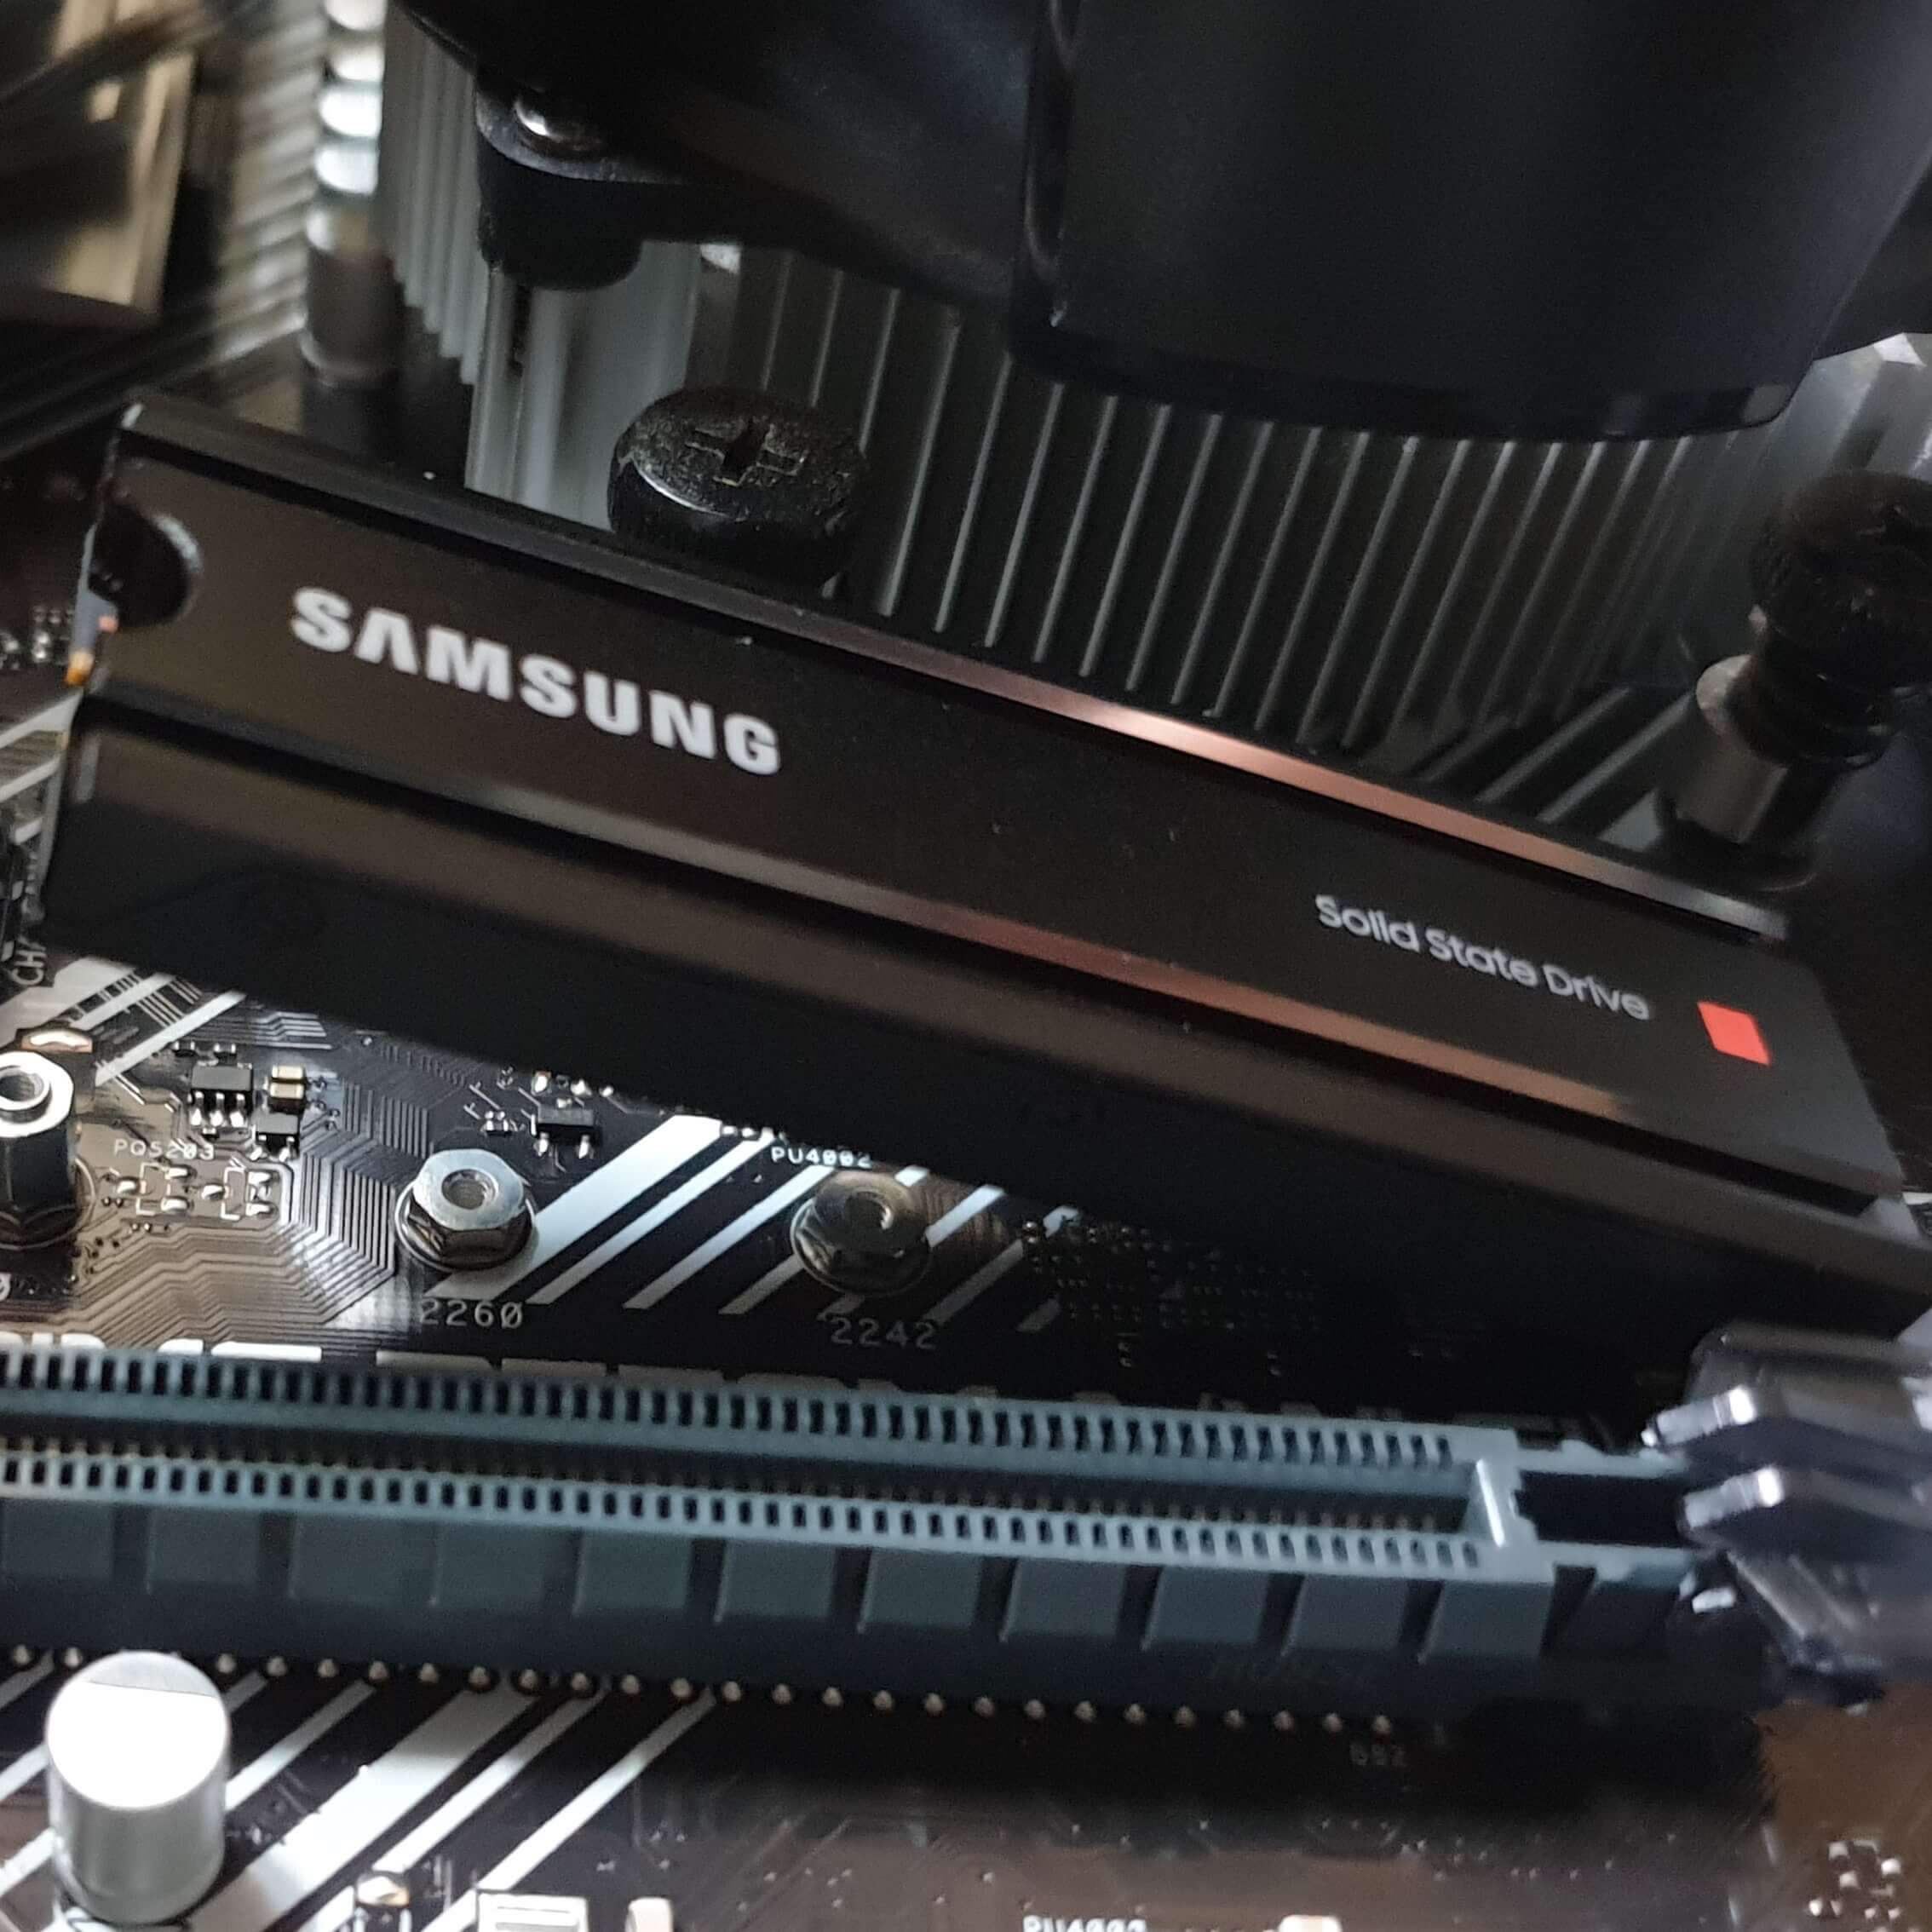
Power Supply Unit
The PSU is the heart of the computer system. Without power, the system would not run at all, and with a power supply that isn’t sufficient can cause unforeseen issues such as under performance and system crashes. When building a system, the total output of components needs to be taken into account to ensure an adequate PSU is selected. The power outputs are usually given on the components and can also be found in the manufacturers documentation. After calculating the total output, including under load values, I would recommend installing a PSU with headroom for any future potential upgrades. This ensures there is enough electricity to compensate for replacement parts or adding components without adding a new PSU. Modern PSU’s are also available to be fully modular, meaning that technicians only need to use the cables needed for the components connected. This allows for less clutter and helps with cable management and potential troubleshooting if required.
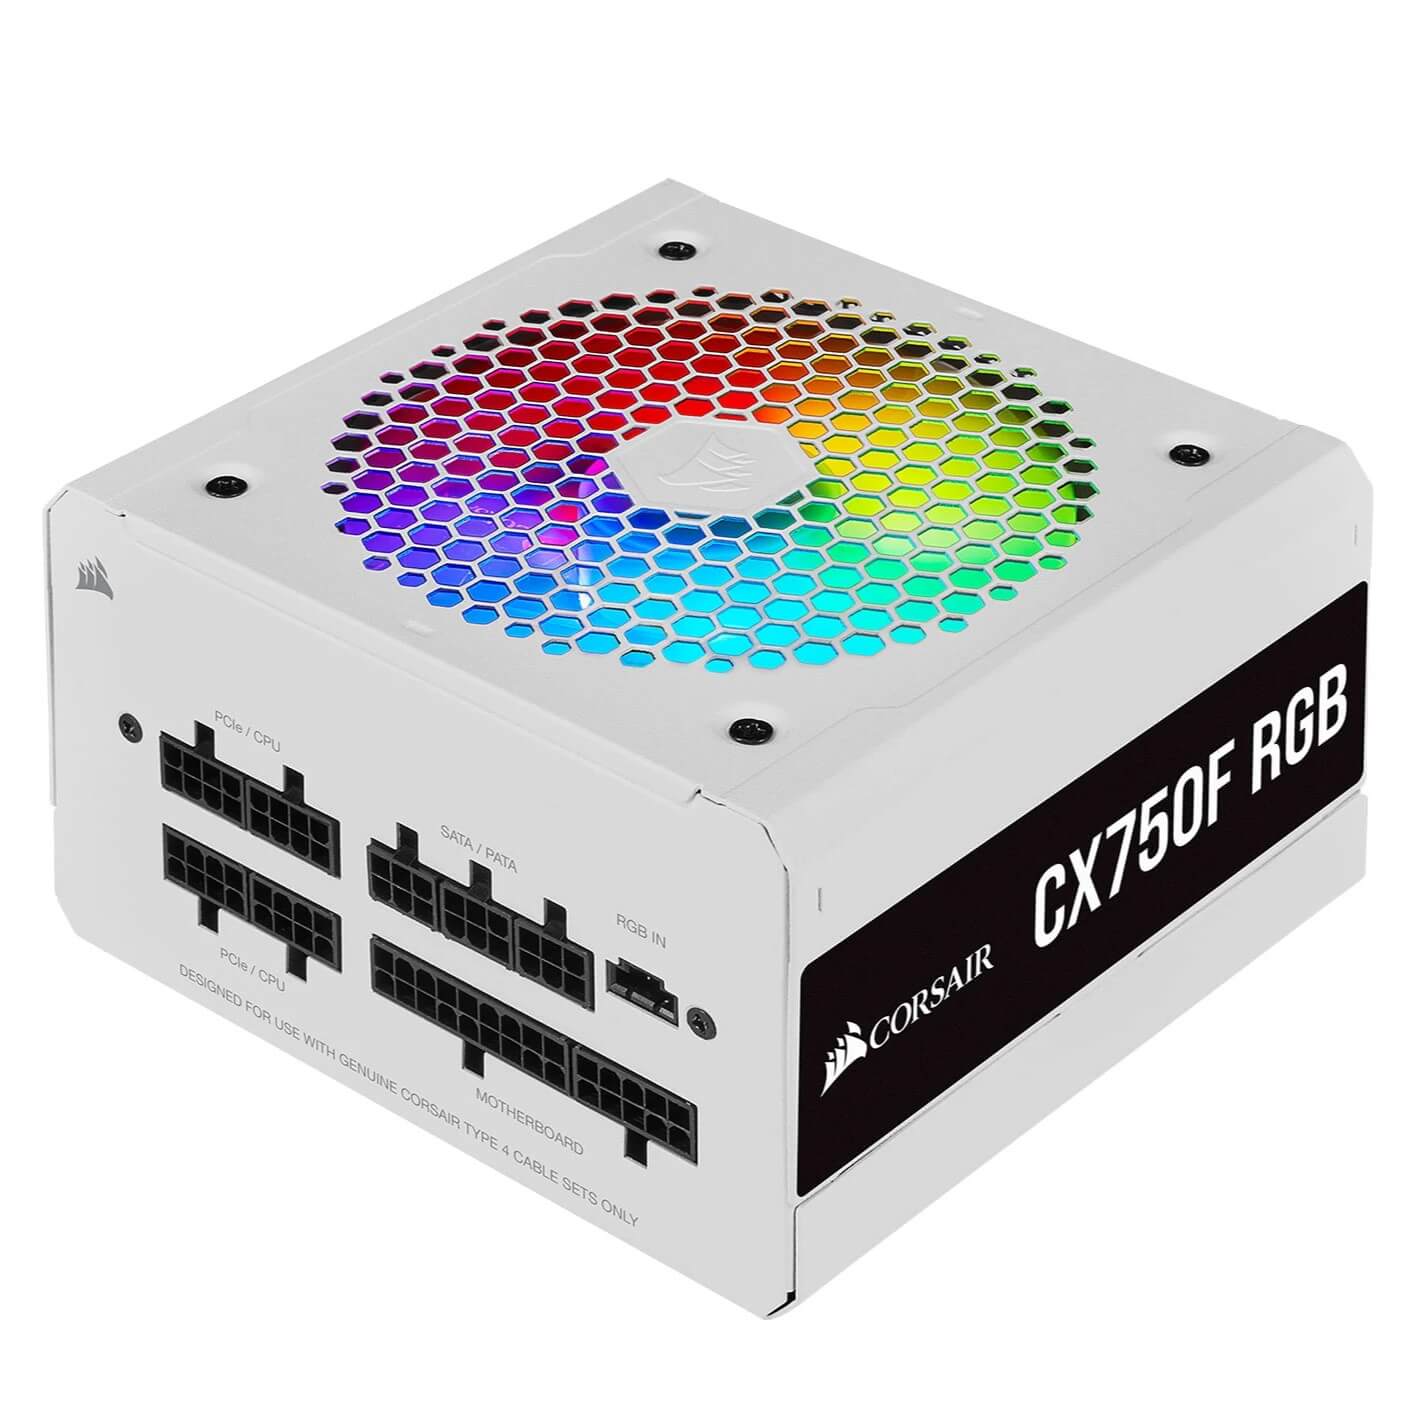
Cooling System (Fans/Heat Sink/Water Cooling)
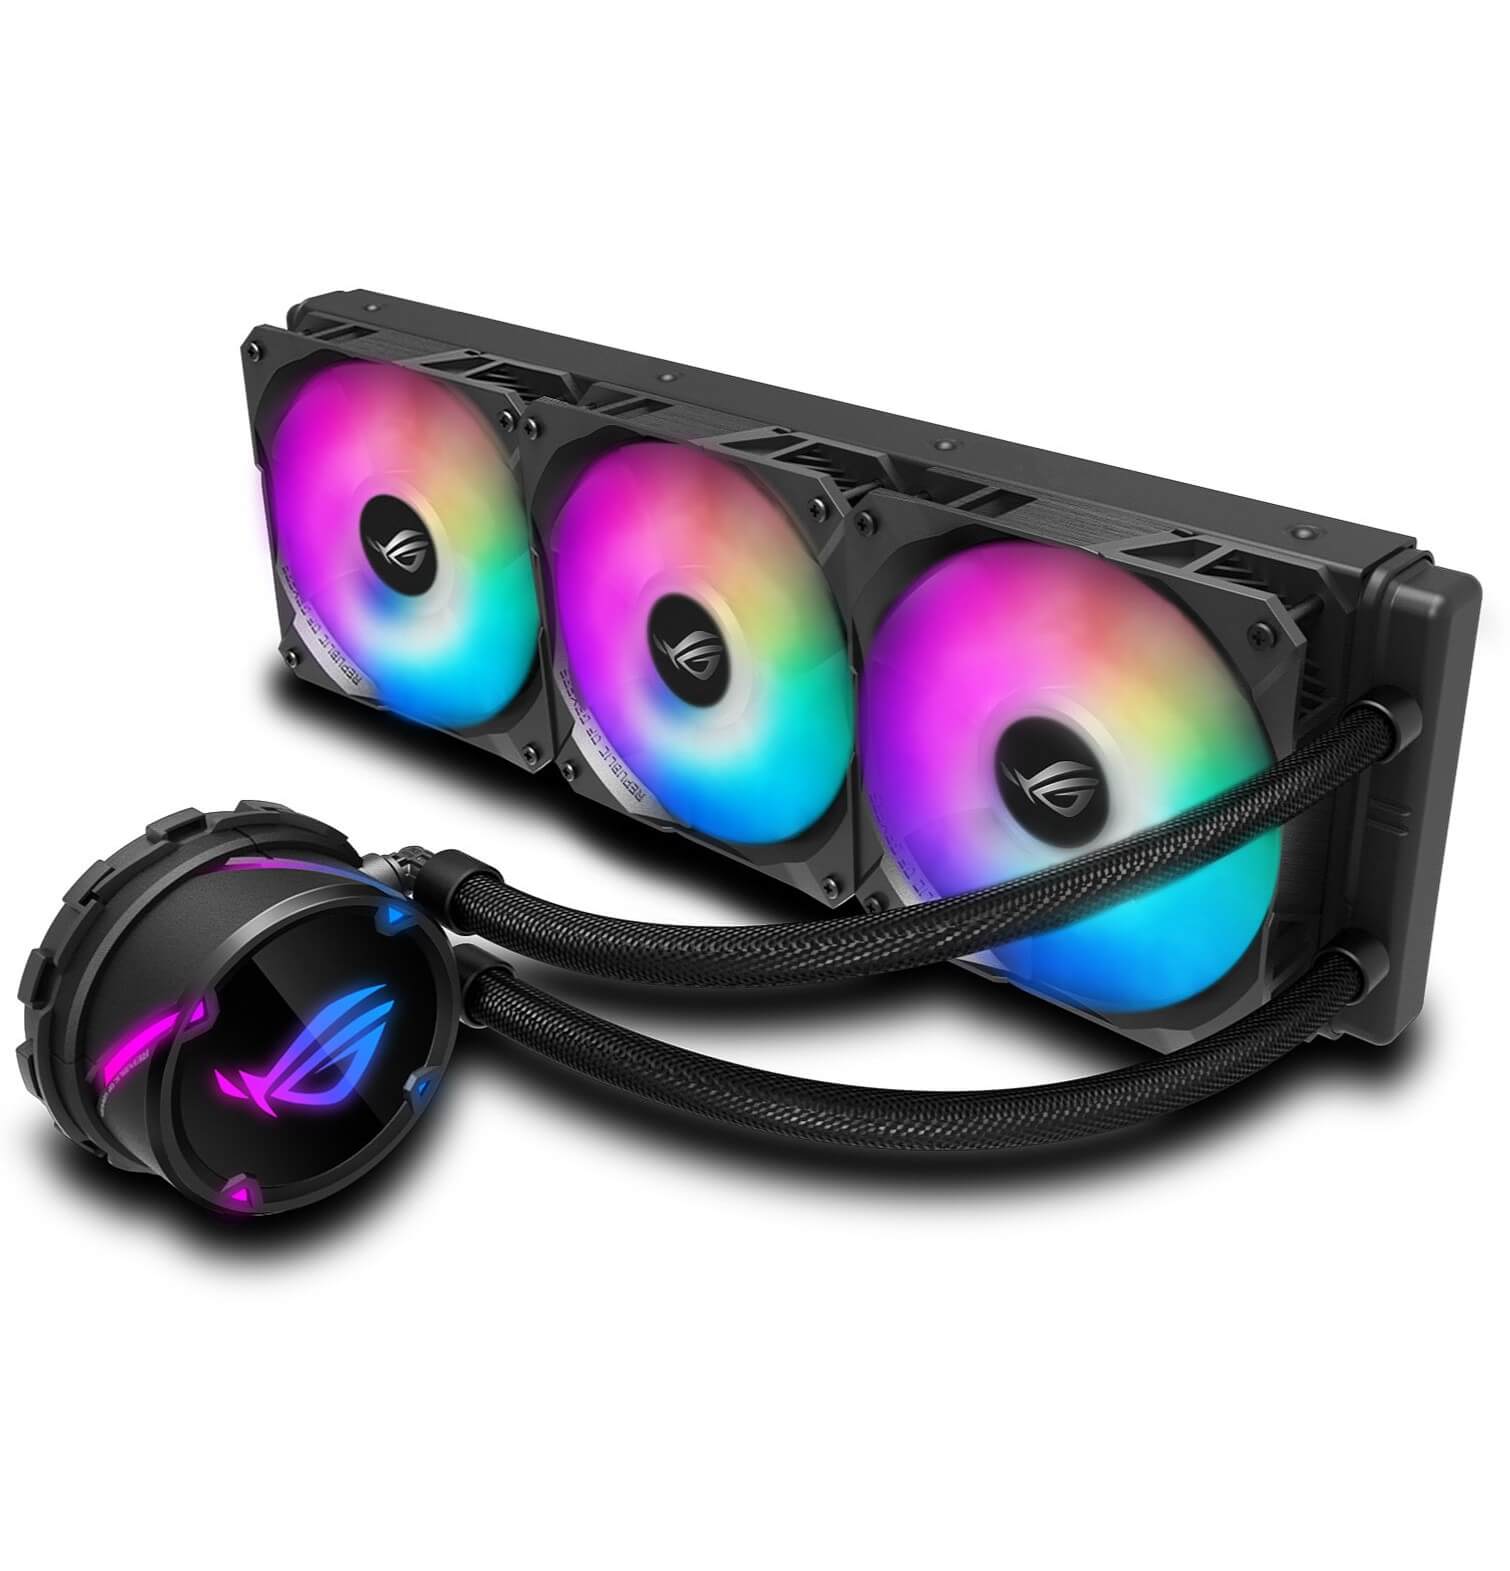
One of the most overlooked components I see in builds is cooling solutions. The cooling system acts much like our own circulatory system, in that it ensures each component is temperature controlled, allowing it to function optimally and safely. As components operate, they generate heat and this heat can thermal throttle or even damage the components if under load for a significant period of time. Fans within the computer allow airflow between the heated air from the components and cooler air from outside the system. The heat sink provides direct contact, with the aid of thermal paste, to the CPU and dissipates the heat away from the CPU to help maintain the temperatures needed for performing such intensive tasks. All this combine to provide a safe and cool environment so that over heating doesn’t care. For more intensive use cases, Water cooling can increase the effectiveness of heat distribution however this can be a lot more costly to implement and maintain. This works by having a pump, that pushes coolant around the system to the key components such a the CPU & GPU, transferring the heat away to a radiator that can then dissipate the heat out of the system.
Case
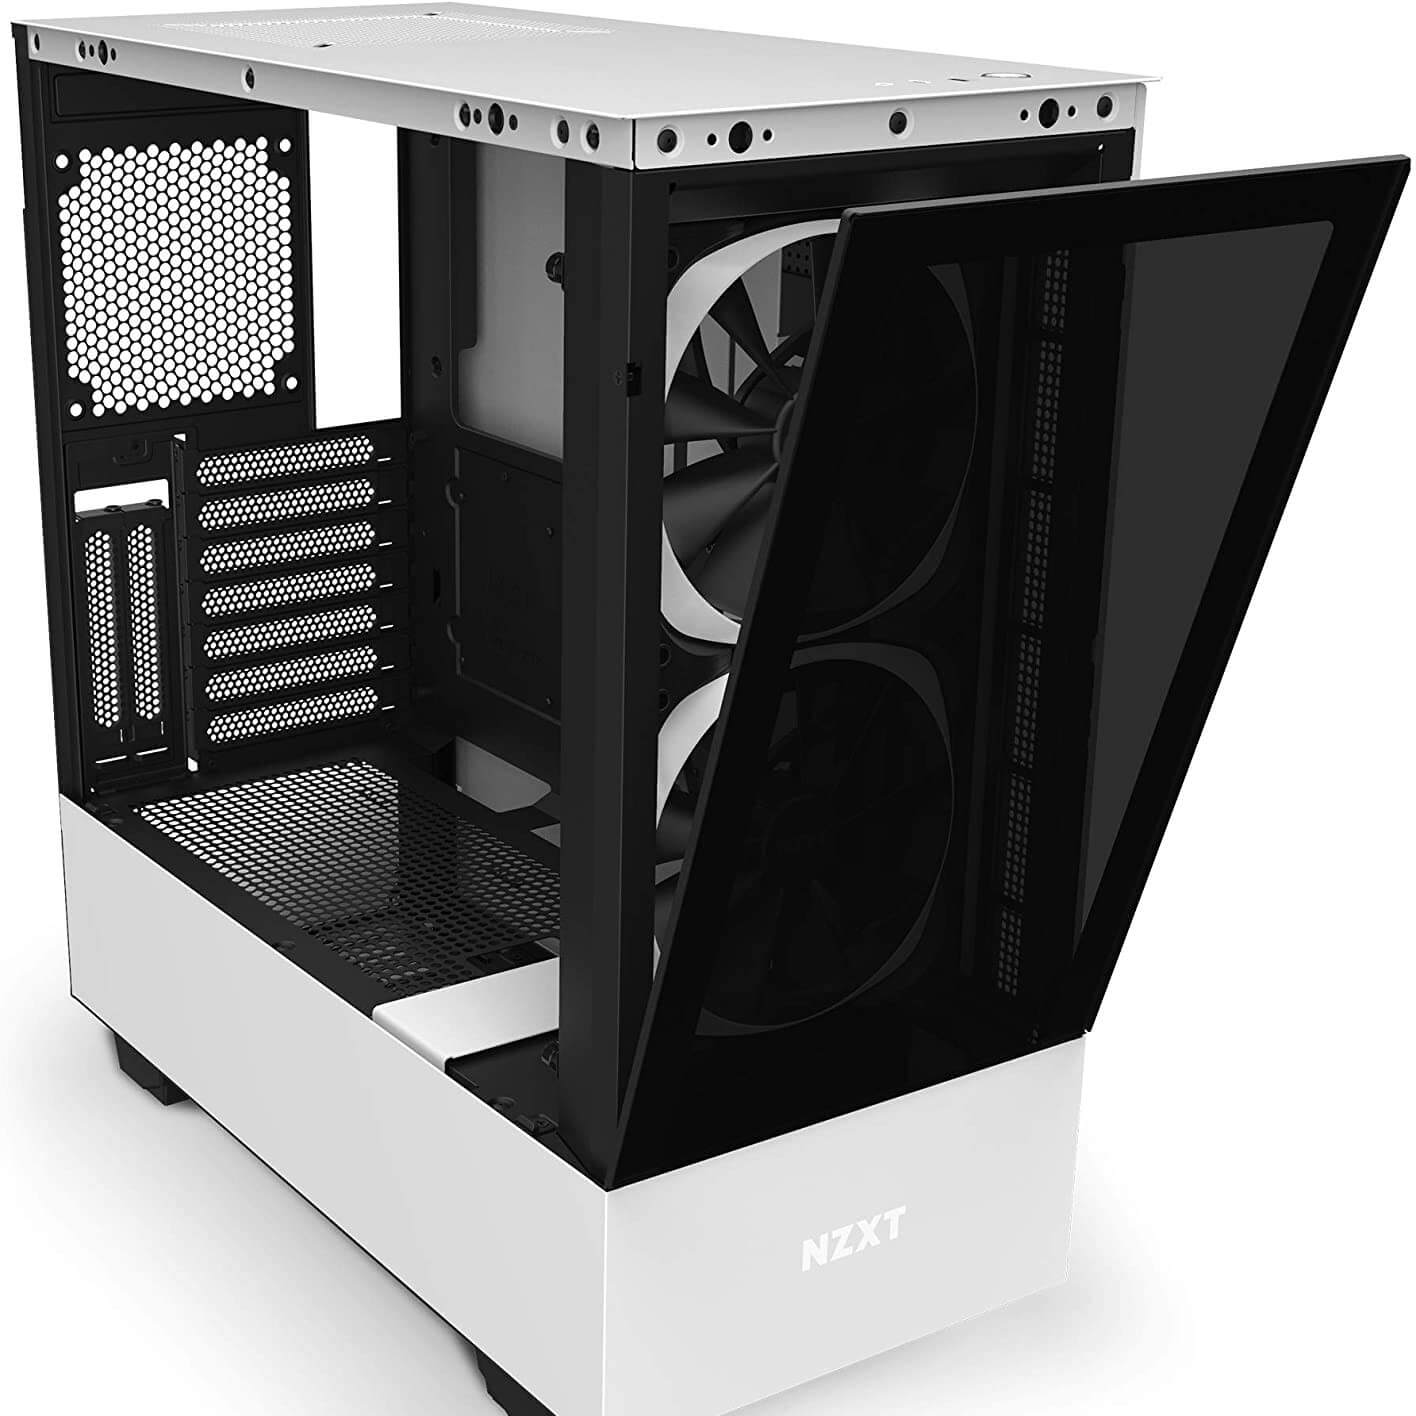
The case is an important component of a computer system, and acts as the skeleton that all the components are housed in. This protects the delicate components from the environment around it and is very personalised to the user. Considerations for cases include the size (ensuring it is compatible with the size of the motherboard), air flow and also the durability and build quality of the case. Small form factor cases are great for saving on spaces, however often require much better cooling system with them being more compact.
Planning A Build
When I build a PC or have to go through an upgrade project for clients, there are certain criteria that needs to be discussed before choosing any of the components. The major question is what will be the use case of the required system and what the client needs from the system. This has the most impact on the decision making, as under speccing the system can be detrimental to the overall outcome.
Next would be budget requirements for the system. Having a high performing system with all the new technologies and capabilities can be very costly and isn’t required in most cases so setting a budget can help to ensure it comes in at a price reasonable for the user. This could require some compromise on the performance however I do my best to ensure this isn’t the case and will make things clear and realistic to the client if what they ask for and there budget don’t align. I also will always ensure when decision making, that performance will always come before aesthetics, unless the client is adamant they need a specific look going for with the PC, for instance to fit in with their branding, content creators etc. Once the use case and budget have been established, then further information can be obtained such as where will the system be located, any specifics the client wants and then recommendations can be made to fit their needs.
Build Process – Theory To Reality
Building a fresh build can be daunting for many people, just opening a system can confuse a lot of people I personally know, however this is something I find very therapeutical. Building from scratch allows you to know exactly what is inside the system, at a level you don’t get from buying prebuilds. It does come with the risk of misconfiguration, however knowing the physical configuration of the system can help greatly when it comes to troubleshooting or upgrading the system.
When building systems, care needs to be taken where you are building. The area should be well lit and clear of anything that could damage any of the internal components. The internal components are sensitive and can be damaged easily by foreign objects and even ESD (Electrostatic Discharge) from the technician. ESD can be mitigated by ensuring any static electricity, naturally built up in the body is discharged safely away from the system. This can be done in various ways using ESD wrist straps, ESD mats & using latex gloves when handling components. ESD can kill a component such as a CPU easily and the risk isn’t worth the replacement costs.
Once the environment is safe, assembly is usually done outside of the case. This can be directly on the desk and mat but allows for easy access to all of the mounting points. Most of the components can be fitted external from the system, however hardware such as the case fans and storage device I usually install after transferring to the case. Components installed external of the case are usually:
- CPU
- Thermal Paste
- Heat Sink
- RAM
- Graphics Card
- M.2 Storage Devices
- Sound Card (If Required)
- NIC (Network Interface Card)
- Capture Cards
Before transferring the system into the case, I test to make sure they are in working order and will get through the POST (Power On Self Test) process. After this has been achieved then the components can then all be transferred as one into the case and mounted securely. The PSU can also be mounted and power cables routed to where they need to be. This then leaves the fans and any additional storage devices to install. Cable management plays a huge part in the installation process, so they do not interfere with airflow or even get caught in any case fans. If needed, fan hubs can be a great addition to the system to help keep fan cables together and also expand on how many fans the motherboard can accommodate.
Once the system has all been physically installed, and cable managed, the build is still not complete. Certainly it will power on, however it still needs to have an Operating System installed and any software required by the client. This is custom to each individual needs and use cases. Sometimes clients only ask for Windows to be installed, others require various software of which I can source and install on their behalf if needed.
Once the system is built, the Operating System is setup and any additional software, I usually run a couple of benchmarking programs to ensure that the system is performing as intended. These usually consist of 3 different software solutions targetted towards the CPU, GPU and stability.
- Cinebench - Used to stress test the CPU, utilising both single core and multicore threading.
- 3DMark - Used to stress test the GPU and the rendering capabilities.
- OCCT - OCCT is a full stability suite, allowing for testing of CPU, GPU, RAM and run custom tests as required.
By running stress tests, you are able to ensure the system is running effectively and efficiently before handing off to the client. A stress test can also show any potential issues that can then be investigated and remedied before completion.
Future Of PC Building
With advancements in technology rapidly advancing, hardware is becoming increasingly faster and more complex. This, so far, has not affected PC Building processes much over the past decade, however now more than ever, care needs to be taken with compatibility and also cooling solutions in mind. Hot components, such as the Intel 13th and 14th Gen CPU's need more cooling then their counterparts to ensure efficient running under load.
Mounting points have almost become universal at this point in time across many systems, with the biggest difference currently being the CPU socket types on motherboards. PGA (Pin Grid Array) sockets on motherboards dont have any pins, and these instead are soldered directly to the CPU, whereas LGA (Land Grid Array) sockets have the pins for the CPU directly on the motherboard itself. Getting the compatible CPU is crucial and can very from motherboard to motherboard.
In time, new technologies will come to fruition and way in which builds are constructed will need to adapt. IT is an evergrowing industry and learning these technologies is required to be at the forefront of any advancements.

CineBench
Cinebench is a nifty benchmarking tool by MAXON that tests your CPU and GPU performance using 3D scenes from Cinema 4D. It's great for getting a real-world sense of how your hardware handles tough tasks. Higher scores and fps mean better performance, making it super handy for anyone wanting to see how their system stacks up.

3DMark
3DMark, developed by UL, is a top-tier benchmarking tool for assessing your computer's hardware, particularly its gaming performance. It runs a series of intensive tests on your GPU and CPU, rendering complex graphics and processing data to give you a performance score. Higher scores mean better performance, helping users compare systems, test upgrades, or evaluate overclocking results.

OCCT
OCCT (OverClock Checking Tool) is a powerful utility for stress testing and benchmarking computer hardware. It's widely used to ensure the stability and performance of components like CPUs, GPUs, and RAM under extreme conditions. This tool is essential for overclockers and PC builders, providing detailed insights and ensuring that systems operate smoothly and reliably even when pushed to their limits.